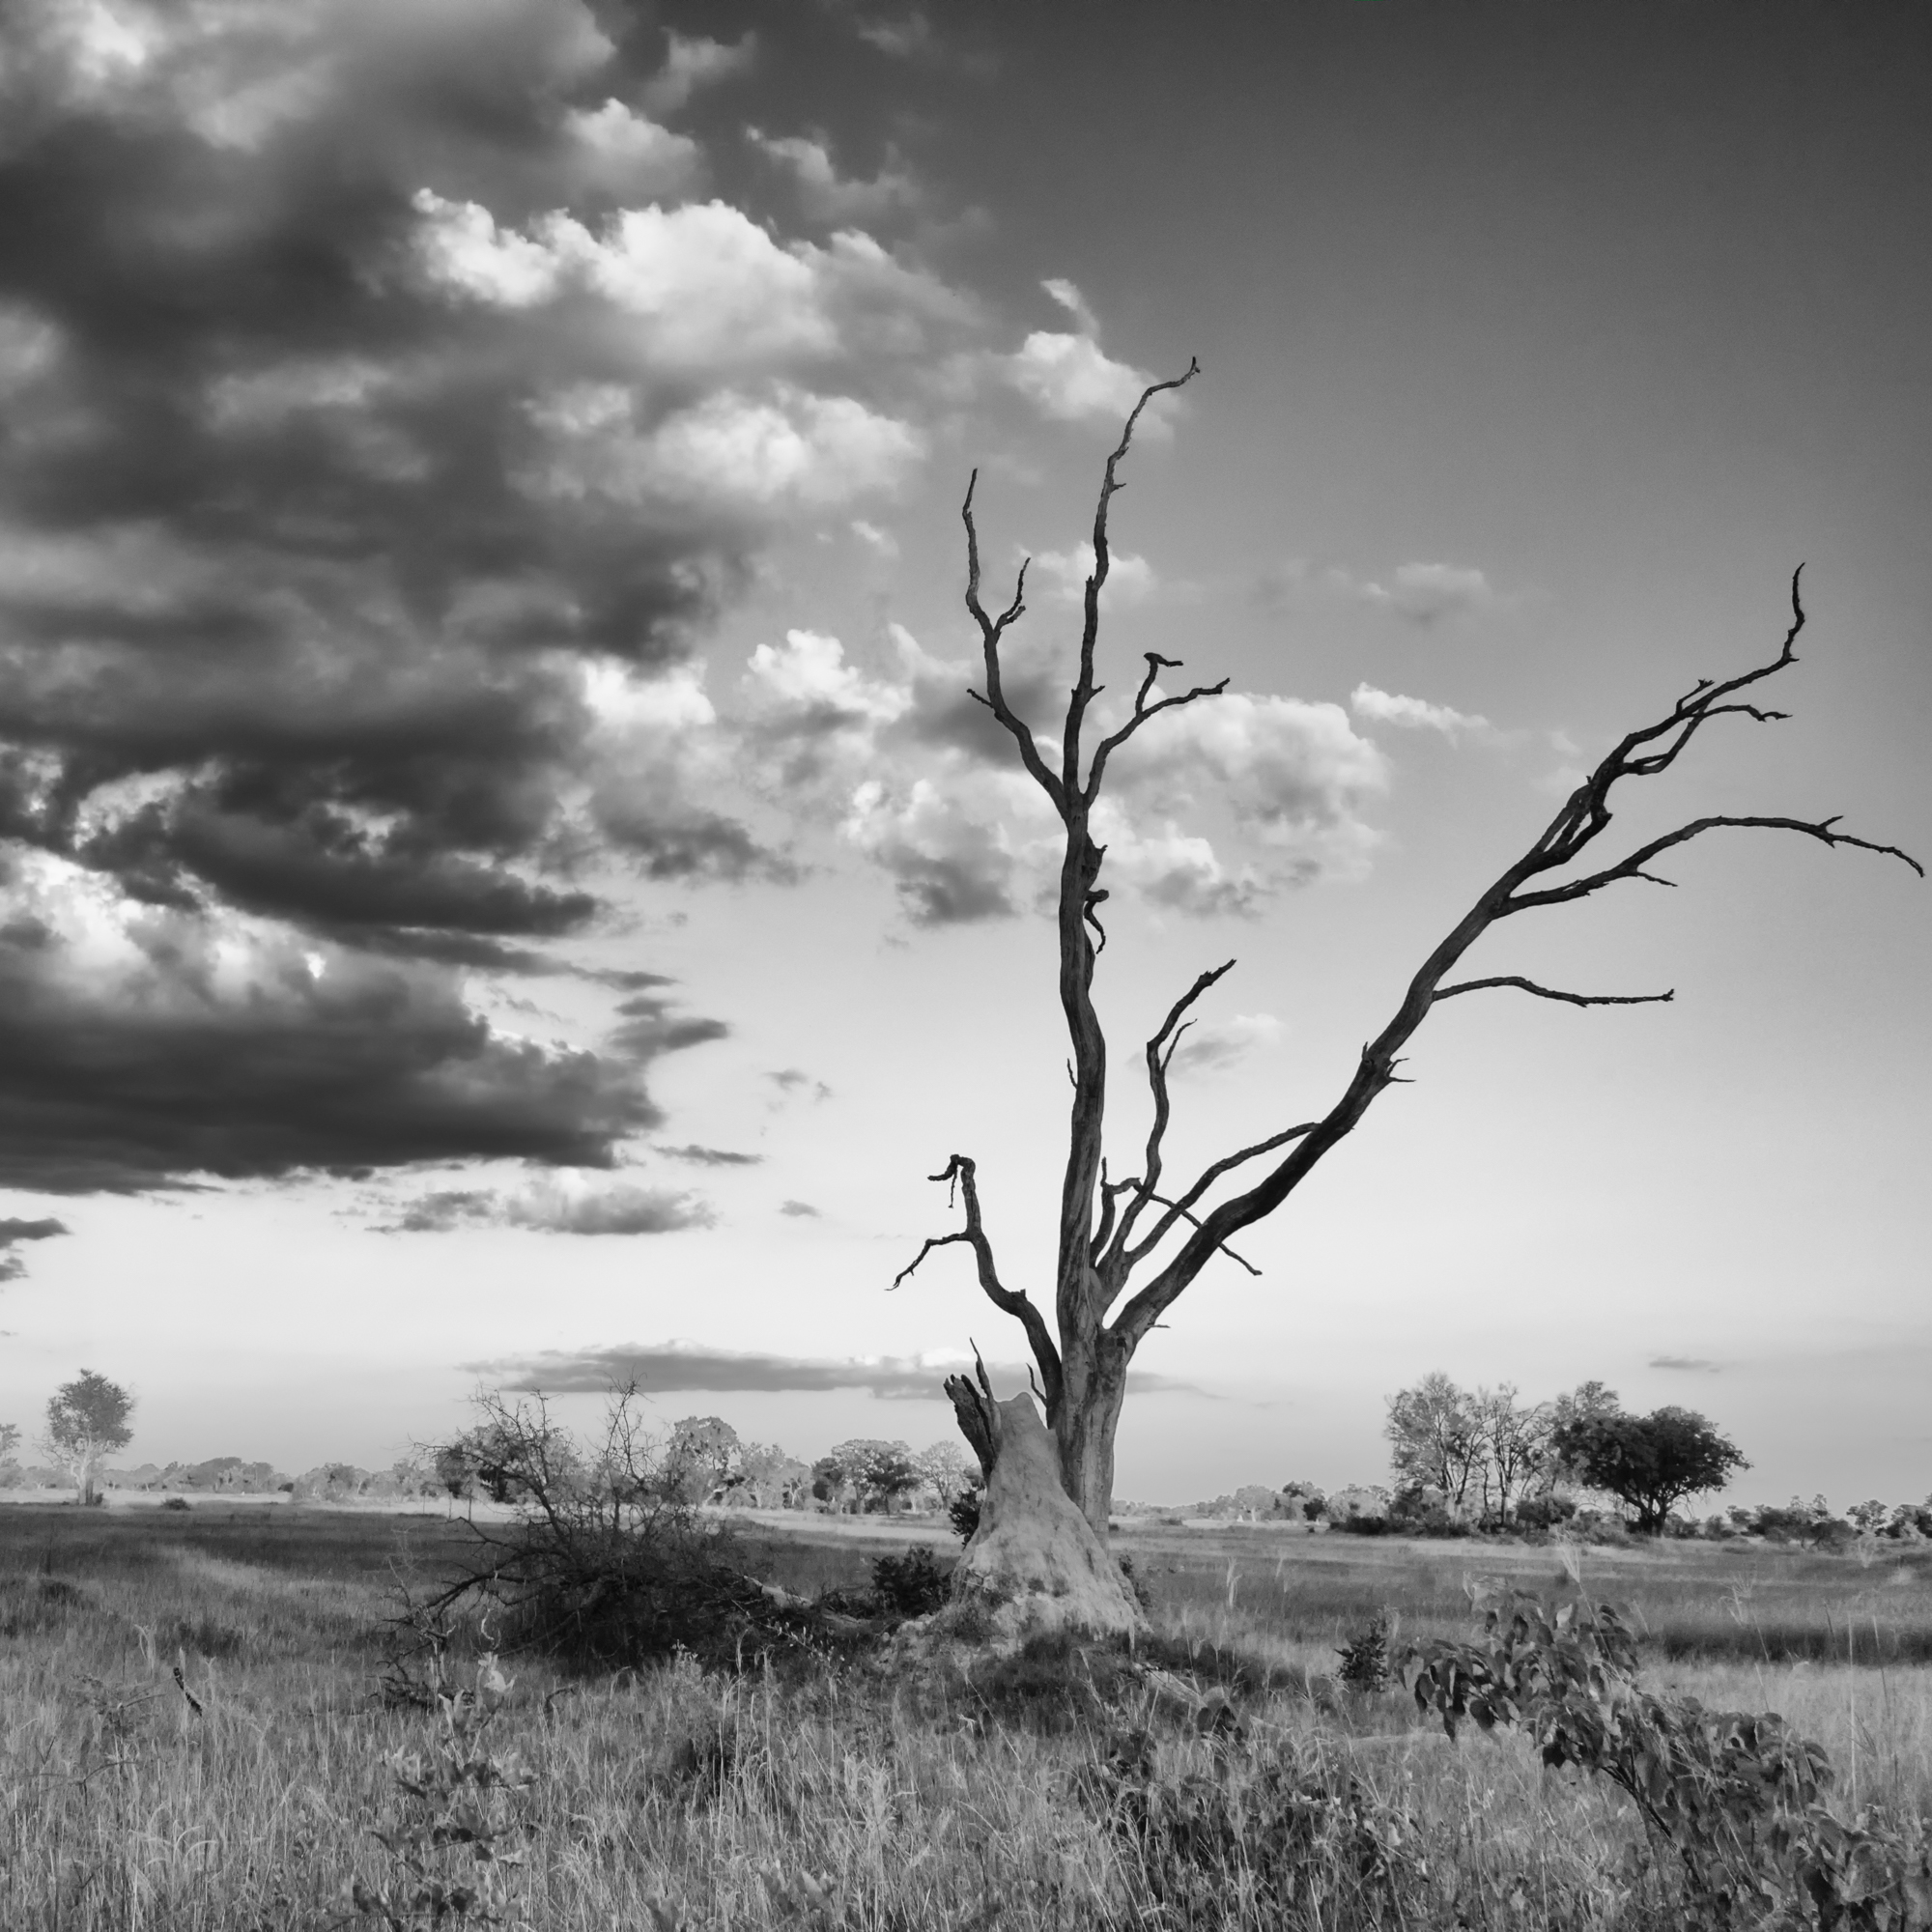

2018-10-22: Monochrome Monday
My very favourite reason to slow down while out for a drive 🙂

2018-10-21: Comparing software for landscape images

I’m back from a very restful holiday to Southern California and a night sky photography workshop at Joshua Tree National Park last weekend. I’ll have some photos and stories to share from that in the coming weeks, but for now I wanted to get back to my topic of the month, reviewing how On1 Photo Raw, Luminar and Topaz Studio compare in editing images with different issues. The last post focused on high ISO, noisy images, and today I wanted to look at landscape images, and see how the different programs deal with removing sensor spots and other distractions.
I’m using images from my last trip to Southern Africa, as I was using the Nikon D610 on that trip, and that camera collected sensor dust very quickly. I had the sensor professionally cleaned prior to my trip, and without ever changing the lens, by the end of 4 weeks, I was having spots show up at f8. The images can be a bit frustrating to edit with so much gunk to remove, but they are great for putting different software to the test.
The first image was edited using Topaz Studio. There were only a few spots to deal with, since this was shot at 1/250sec, f5.6, ISO 2000. My camera really wasn’t set for shooting landscapes; I had been taking photos of animals prior and saw this scene and quickly composed and shot on the go (I don’t think the vehicle even stopped for this).

Next up was Luminar, and I anticipated issues based on my previous use of the erase function.


Thankfully, the Luminar clone and stamp tool works very well; so if I had one bit of advice to give, don’t waste your time trying to use the eraser tool, and go straight to clone and stamp for any spots or distractions in your images.

Last, but not least, is an image edited using On1. I shot this image in the early morning on Ngala Private Game Reserve, just after a storm passed by. We had a beautiful sunrise, huge cloud banks, a couple of rainbows… I didn’t really know where to point my camera! I’m really happy with the way On1 dealt with the sensor spots; there was a little bit of noise / graininess in the clouds that I also worked to balance out.

I’m going to call it a draw on this one. Each program dealt effectively with the limited amounts of noise in the images, and was able to deal with sensor spots and other distractions effectively. I was able to get results in On1 the fastest, but even with the huge number of spots to deal with in the Luminar image, I didn’t spend more than 5 minutes start to finish editing any of these images.
I hope you’ve enjoyed my selections for the day; check back next week as I look at editing images of our feathered friends.
Wishing everyone a fantastic week ahead!
2018-10-17: Wordless Wednesday

2018-10-15: Monochrome Monday
A heavily pregnant zebra pauses for a photo op in Etosha National Park.

2018-10-10: Wordless Wednesday

2018-10-08: Monochrome Monday
My favourite animal to spend time with on safari 🙂

2018-10-07: Topic of the month – Comparing results from different software

After my dive into Luminar in August and Topaz Studio in September, I decided for October I would look at the three editing programs that I use, and see the results in different situations. Throughout the month of October, I want to explore which is the best tool for the job in different conditions.
Before I forget through, I won’t have a post next Sunday, as I am off attending a photography workshop, but will resume the Sunday series on October 21.
The first scenario I decided to tackle was low light images. This is something that I encounter a lot when out on safari (or even when photographing the local nature during my morning walks with Spencer). There are a lot of interesting sightings and situations that happen before the sun comes up, after the sun has set, or in deep shade. When these scenes require a fairly fast shutter speed, it can result in the ISO getting cranked up to try to get a correct-ish exposure. I say correct-ish, because what is correct is to the eyes of the photographer, and two people viewing the same scene may have drastically different interpretations of how they want it to look.
I have chosen three series of images to work with. Each of the different scenes were shot at the same time, under the same (or very similar) lighting and atmospheric conditions. I’ve not attempted to process each image exactly the same using different software, but rather try to bring out the very best in the image using the tool available to me in the different programs. Here we go!
The first image series was from a sighting of lion cubs on Londolozi in the early evening. The cubs were very young, and likely this was the first time their Mom would have brought them to a kill. They were deep in a thicket, so with both the shade and approaching night, there was not a lot of light to work with.
All of these images were shot on my Nikon D610 at 1/640 sec, f5.6, ISO 6400. All of the images had some strange colour casts from the deep shade and a lot of noise from the high ISO. After the fact of course, I wish I would have lowered the shutter speed a little to bring in a bit more light, but the cubs had been all over the place playing, and I’d made my choices based on that. Live and learn.

I tried editing the On1 version twice, and this was the best result that I could get. I find the tone to be fine, but I don’t think that the software did a great job of dealing with the noise, especially in relation to retaining detail. I’m going to say a good chunk of that is likely down to my use of the program, and I should probably educate myself on the noise reductions features a little more to see if I can extract better results in the future.

I think the Topaz Studio option is the most successful image of the series. I took advantage of the tools I had available to me, and opened the Denoise 6 plugin from Topaz Studio to work on the noise. I find that plugin very effective at really high ISO levels, such as 6400 or 12800. The colours appears the most true to life to how I remember the scene, and there is a good balance between removing the noise, and retaining the detail.

I think the Luminar version is the least successful. I don’t feel I did the best job in correcting the colour cast using the software (even with so many options available to do so) and the colours appear a bit over-saturated compared to the other two options. There is still a fair amount of noise in the background and the foliage, as removing any more of it rendered the image too soft and almost cartoonish.
My second series of images are of a cheetah family found during a wind storm in the late afternoon on Phinda Game Reserve. It was overcast with rain on the way, and the group was huddled together, and rather nervous with not being able to properly hear the potential of other predators in the area. These images were all shot at 1/400sec, f5.6, ISO 4000, on a Nikon D610, and were shot an hour earlier in the afternoon than the lion images about. They are definitely easier images to work with.

In this case, I think the On1 version is my favourite. I find the colours have come out very close to my memory of the scene, and there is great balance between being able to reduce the noise in the background foliage, and retain excellent detail in the fur.

I find this version to be great in terms of noise, detail and contrast, but the colour cast is both too cool and too magenta.

The Luminar version again looks a bit over-saturated when compared to the other two versions, but I believe I did mention during my Luminar review that the sliders are very sensitive, and you can go overboard with things very quickly. The interesting thing is, both the Topaz Studio and Luminar versions are fine on their own, and if I posted a single image, there would probably not be a comment regarding colour casts or of the saturation. It’s only when viewing them all together that these issues become apparent.
The last set of images is from my last morning on safari, which I got to spend watching a beautiful leopard and her two tiny cubs. I’ve written about the sighting at length, so I won’t go on and on about it, but if you missed it the first time around, you can check out a post here. In the linked post, there’s also a bit more information on the lion cub sighting shown above.
All of these leopard images were shot at 1/640 sec, f7.1, ISO 6400.

I’m really pleased at the job that Luminar did on this image. I actually went in and desaturated some of the green tones a little, since they were looking a bit radioactive. The noise inside the hollowed out log cleaned up nicely, and there is good detail in the mother leopard.

While the noise and the detail look good in this version I did with On1 Photo raw, I’m not as happy with the way that the colours turned out. I just couldn’t seem to get it quite right. The tree trunk has a very blue cast to it, and the greens are perhaps a little too punchy.

The version I edited in Topaz was the most challenging, given the focus within the darkest (and noisiest) part of the image. I again used the Denoise 6 plugin, and found it did an excellent job of removing noise and retaining detail.
The leopard images aren’t perhaps the fairest of comparisons, since they are all zoomed in to the scene at different amounts, but I didn’t want to edit three nearly identical images, since that gets a little boring.
For my purposes, I am finding that for lower ISO ranges, all the software performs admirably, and I can get good results from any of the software options I have available to me. Once I climb into the ISO 6400+ range though, I think Topaz is the clear winner, specifically when using the Denoise 6 plugin. Of course that could be camera dependant as well. All the images in this post were shot with my Nikon D610, which I don’t even own any longer. I’ll have to work on this experiment again when I have some high ISO images from my Fuji XT-2, and see if the results are the same, or different.
2018-01-01: Monochrome Monday
A group of bull elephants on the banks of the Boteti Rover in Botswana. These males had come down from Nxai Pans to enjoy the water and the lush vegetation around the river, as the seasonal pans dried up. We watched this group cross from one side of the river to the there, stopping part way for a bath and then a wallow in the mud at the edge of the river, before carrying on their way.

2018-09-30: Topaz Studio Week 4

My month of Topaz Studio is coming to a close. As with my month of Luminar, taking this time to dive into the program has left me feeling a lot more confident using it, and now it is another tool in my photo editing toolbox that I can use to bring out my vision in the images I have created.
Rather than focus on one specific thing for this post, I wanted to share some of my favourite things about the program.
Bringing out amazing contrast and detail
Back when I used Lightroom and Photoshop, Topaz Detail and Clarity were plugins that I would use when I wanted to highlight texture, especially in feathers and fur. The precision contrast and precision detail adjustments are the same tools found in detail and clarity, though they are still available as the plug in versions or as clarity and detail in studio, which give access to all the fabulous presets that those programs had. On this cheetah image below, I decided to use the precision contrast and detail rather than the in studio version of detail and clarity. Since these are sized for the web, some of the fantastic texture of the fur may be a bit lost, but it is definitely there.


Creating my artistic impression images
I’ve always enjoyed the Topaz Impression and Simplify plug-ins, allowing me to create painterly and whimsical effects to my images. Sometimes over to the top, sometimes subdued, those programs allow me to create something different with my images, and I love the flexibility they give me.

Quickly reviving lost detail
I think my favourite discovery in the Topaz Studio program has been the AI Clear adjustment, and it is one I am absolutely going to purchase to make sure I have it available to me. Many times I find myself out and about with a great scene in front of me, or a moment I want to remember, but the light is fading or there are deep shadows or perhaps fog (sometimes all of the above). I have found that the AI Clear adjustment can really get images like these back from looking grainy and soft, to full of detail and life. It’s just one step in the editing process, but it certainly is a powerful tool.


I have really been loving the ease of adding my watermark to my images; it is certainly less cumbersome than that current way I have to do so in On1. One of the drawbacks I have found with Topaz Studio is not being able to resize and export directly from the program. It means that for images being posted to the blog or my Instagram page, they always need a round trip back to On1 in order to be resized and exported. Not a deal breaker at all, but just adding an extra step to the process.
If you don’t have it already, I would absolutely recommend downloading Studio and trying it out. Given that the program is free to use with several adjustments, and there are 30 day trials for all the others, there really is nothing to lose (except maybe a little space on your hard drive) to give it a go.
I hope you’ve enjoyed my take on the program.
Wishing everyone a great week ahead!