2018-12-16: Luminar’s Sky Enhancer

Last week I decided I would play around with one of the new features in Luminar, a filter called AI Sky Enhancer.  Perhaps the timing wasn’t so good though, as yesterday evening I downloaded the newly release Luminar 3, and with the added library function, I was having a bit of trouble navigating the system (since I haven’t yet looked at any resources on how to use the new software).  Despite a bit of floundering within the libraries function, the actual photo editing and filters layout remains the same, and I was able to complete my self-appointed task.

This first image wasn’t solely about the sky; it’s kind of hard to ignore the leopard in the tree!  I wanted to enhance the natural colours of the sky and bring up some of the shadow areas.  I started with the AI Sky Enhancer and added other filters as needed (which was how I approached all the images).  I’ve included a split screen showing before and after and the edited image for each one I worked on.

Screen Shot 2018-12-16 at 1.02.33 PM

20170507-DSC_3415.jpg

Next up is a photo shot while on a boat on the Boteti River in Botswana.  Shooting into the sun left the sky quite washed out; I am impressed how well I could enhance the sky colour and the clouds with Luminar without it becoming to HDR-like.

Screen Shot 2018-12-16 at 10.29.26 AM

20170502-DSC_1713

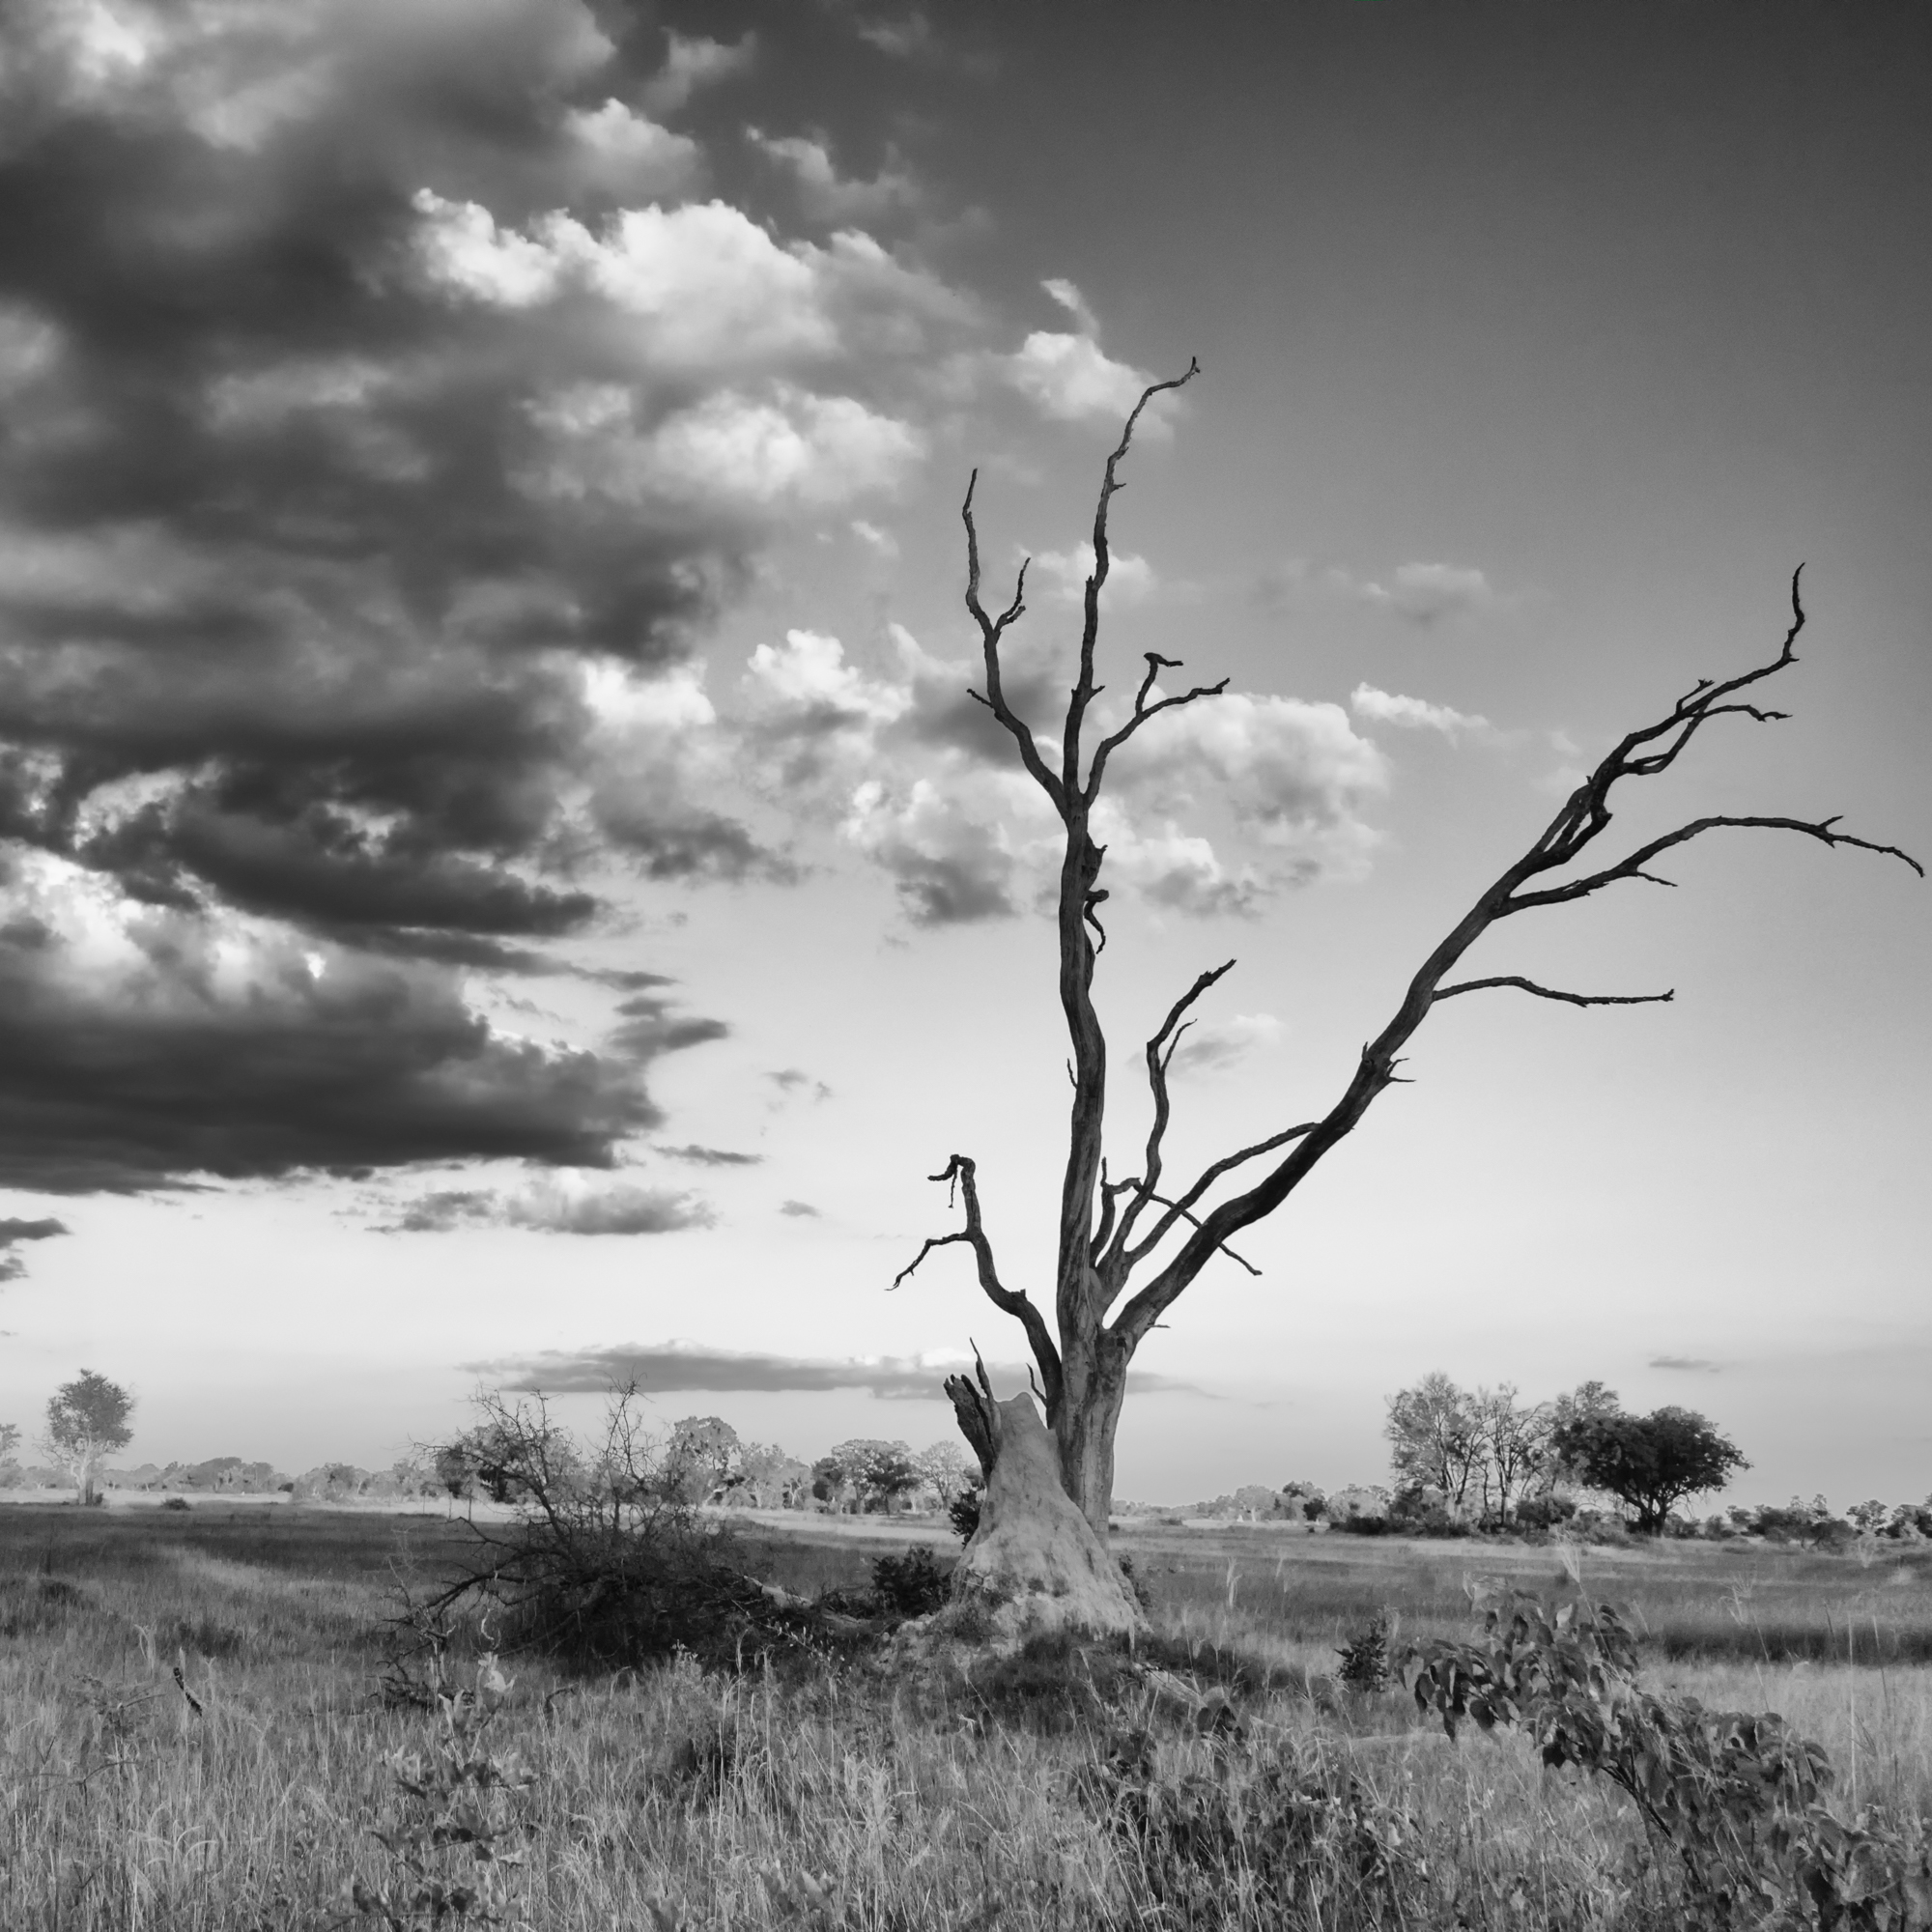
The Okavango Delta is an amazing place for sunsets; the colours in the sky are incredibly dramatic from my experience.  With that much colour already, it is easy to take the image a step too far and have it look radioactive.  The AI sky enhancer did a great job accentuating the detail in the clouds, without pumping the colour up to 11.

Screen Shot 2018-12-16 at 12.48.11 PM

20170504-DSC_2020edited

Finally I have included a sunset from the Hoanib desert in Namibia.  There was a lot of airborne dust and sand that evening, so while I did do some noise reduction in the sky to reduce the visible grain, there is definitely still a lot of texture.  This was also shot with my Panasonic camera, which is much noisier than the Nikon I was also shooting with.  Regardless, I am please with the realistic tones, the detail in the clouds and the textures in the desert and the hills.

Screen Shot 2018-12-16 at 4.48.15 PM.jpg

20170425-P1020555.jpg

I’m going to ow have to spend some time familiarizing myself with the layout of the new Luminar software, so I can work using their library function in an efficient manner.
2018-09-02: Leopards in Luminar

I mentioned in my post last week that I would concentrate on using Luminar in Windows for the balance of the month.  I missed getting this posted before the end of the month, but still wanted to share the images and my thoughts on Luminar in Windows.

First off, thankfully the clone and stamp issue that I found the first time I opened my version of Luminar in Windows had been corrected once I updated the software.  Basically what was happening is the clone and stamp layer would appear to work normally, but then would disappear once you clicked done on the clone and stamp module.  A bit frustrating, so I am glad that is no longer an issue.

I had read in a few blogs that there were a couple fewer filters on the Windows version; I didn’t count them myself and never found I was missing a tool I wanted to use, so that’s definitely not a concern for me.  The one thing I really enjoyed was using the touchscreen for creating masks; my Windows machine is a Microsoft Surface complete with the Surface Stylus.  What a huge difference using that made in terms of accuracy.  I never transferred my logo file to my Windows machine, so I had to open up the edited files on my Mac to add a logo and then export.  I didn’t have any issues with using the files on different systems, which is a good thing as I don’t see leaving my Mac as my main editing machine any time soon, but it does mean that I can work on the road and transition to home in a fairly seamless way.

I’m going to say for my editing purposes, there really isn’t any difference between Mac and Windows for using Luminar.  Others may have a different experience, but I didn’t have any issues.

I decided on leopard images as I knew I had some that had some with contrast issues,  some wonky colours to deal with and an images where I would need to test the clone and stamp.  And Leopards in Luminar just has a nice ring to it, don’t you think?

curious
A leopard cub explores the bottom of a ravine.  This image had some serious contrast issues due to the deep shadows and very bright mid morning sun.  I am happy with the way this turned out.
mamaandbaby
A mama leopard carrying her cub to a new den site.  This image had some strange colour casts, and despite being able to correct it in Luminar, I tried a black and white filter and much preferred the result.
snarl
This is definitely not the look you want a leopard to be giving you. This mama heard another leopard calling nearby, and was not at all pleased.  There weren’t too many issues with this image but it did need detail enhancement to be applied carefully so as not to accentuate the noise in this early morning, shady, high ISO shot.
tree
A leopard perched in a tree at sunset in the Okavango Delta.  This image had some need of the clone and stamp tool; I don’t know if it was a sensor spot or a bug, but there was something that was very distracting in the blue sky that I had to get rid of.

2018-08-26: Elephants edited with Luminar

Since it has been far too smoky to get out shooting, I decided I needed a theme for my Luminar editing this week, and I decided on elephants (surprise!).  I’ve not watched any more Luminar tutorials this week, but I have decided for the balance of the month I am going to search out resources on Luminar for Windows, as the program is a bit less advanced than the Mac version.

I actually tried to edit an image on my Windows computer using Luminar, but got frustrated with a clone and stamp issue and gave up.  Currently, I’m letting that computer download the latest update while I write this, so perhaps the issue will be resolved with the latest version.

Editing elephant images has given me a chance to work with a variety of tools to bring out texture and contrast.  An elephant’s wrinkly skin is such a wonderful feature, and raw files really need to be worked with to bring that back to life.  I’ve found that Luminar does an excellent job with this, but you definitely need a gentle hand with the adjustments as they can go up to 11 very quickly.  The other feature I am enjoying on Luminar is the Accent AI slider.  It analyzes an image and tries to adjust automatically for exposure, contrast, clarity, saturation… but like the filters that affect details, I find it it needs to be used with a gentle touch, otherwise the image starts to look overdone.

I hope you enjoy my selections for the week.  Wishing everyone a great week ahead.

20170425-DSC_0782
One of the desert adapted elephants in the Hoanib River bed.  Namibia, April 2017.
20170511-DSC_4572
A pair of elephants checking us out before heading down to drink.  Phinda Game Reserve, May 2017.
20170512-P1030246
Seeing double – a pair of juvenile elephants along the edge of a dam on Phinda Game Reserve.
20170517-DSC_9163
This bull was not particularly pleased with our presence, and shot out a blast of air from his trunk, sending sand up all around him, like confetti.  We were driving on the airstrip to give him lots of space on the road, but we certainly didn’t stick around any longer, as he was in musth and we didn’t want to chance annoying him any further.
20170516-DSC_7032.jpeg
This young lady couldn’t have been more different to the bull elephant above.  We were parked on the roadway and she approached us and then just chilled out along the side of the road, waiting while the rest of her family had a drink from a broken water pipe.

2018-08-13: Monochrome Monday

I’m a little later than normal with my Monochrome Monday post as I have been playing around with using the MacPhun (now Skylum) Tonality plugin with Luminar.  I must say, I am really enjoying using Tonality again!

Tonality was my go-to for black and white conversion when I was using Lightroom and Photoshop.  I found I could dial in the vision I was imagining much faster than using other black and white methods.  Now that I no longer have Photoshop, I am glad I have a way to integrate the plug-in back into my workflow when I want to.

I’ve started watching some Luminar videos on YouTube by Jim Nix, and one of them really resonated with me today.  It had nothing to do with the image or the edits he did, but just the concept of revisiting old work to re-edit photos, to experiment with new software, filters and combinations of tools to keep your creativity and interest peeked.  A lot of that is why I am enjoying this theme so much, as the lack of familiarity with the software has caused me to think a lot more critically about what I want to achieve, so I can figure out how to do it, but it has also allowed me to just open random filters to see what they do, sometimes to great result, sometimes awful.  If you are interested, you can find the Luminar video by Jim Nix here.

Now on to the images for today.

For this giraffe image, I did an extra step to start, and from Luminar opened Topaz Studio and then the Topaz Remask plugin.  I find Remask is excellent for complicated situations like these tree branches against the sky.  The sky was very grainy, and I wanted to apply some noise reduction, and I thought that would be the best way to go.  I shot this image with my Panasonic FZ1000, which is a very capable little camera, but I do find skies are generally quite noisy regardless of the ISO.  There was also a lot of airborne dust so it could have been that rather than a limitation of the camera.  After I created my mask in Remask, I ran the noise removal filter in Topaz Studio and sent the image back to Luminar, and then onto Tonality for black and white conversion.  If Luminar had an option to adjust luminosity masks so I could isolate the sky, I would have gone that route and saved some steps, but right now its not an option.

20170425-1020427
Giraffe in the desert.  Hoanib Skeleton Coast Camp, Namibia.

Things were much simpler for the next two images.  I edited both using the Tonality plug in, though I am sure I could have arrived at similar results just using Luminar.  As with most photo editing programs, there are a lot of different paths to get to the same place.  It’s all about what works for you.

20170428-DSC_1067
A zebra calf photographed in Etosha National Park, Namibia.
20170428-DSC_1275
A black-faced impala spotted in Ongava Game Reserve in Namibia.  Our guide explained to us that any reserves that add impala to their property in Namibia must add the black-faced impala.  This was started as a measure to help conserve the species and allow them to thrive.

I hope you’ve enjoyed my selections for the day 🙂

2018-08-05: Processing with Luminar

As I mentioned in my July in Review post, this month I am going to be exploring editing images using Luminar 2018.  When I was still using Lightroom and Photoshop, I used the MacPhun plugins quite a lot (especially the Tonality plug-in) so some of the interface and working of Luminar feels familiar, but I really wanted to take a deep dive with the program and get proficient is using it and develop a workflow around it.

Just to get this out of the way, I don’t have any affiliation with Skylum, the makers of Luminar or with any of the creators of the resources I may mention or share links to.  Luminar is one of several editing programs that I use, and any links that I mention are from my searches online for Luminar editing tutorials and resources.  I’m including links to them in case someone else may find them useful.

In terms of resources, the most logical place to start is direct with the developer.  There are loads of videos on the Skylum Youtube Channel from Getting Started videos to tutorials that deal with specific processing situations such as landscapes and portraits.  I watched a few of the Problem Solving, Core Skills, Quick Knowledge and Inspiration videos when I first got the software to give me an overview of where to find things, and have just watched a few chapters from Anthony Morganti’s Mastering Luminar 2018 as a refresher, since I only used the program once since purchasing it.  Over the coming week I’ll post more resources as I work through them.

I decided to work on an image that didn’t need a lot of work, just some basic refinements including removing dust spots, cropping, adding some detail and contrast, and adjusting the tone of the sky.

20170509-DSC_3619
This is the Raw file, exported from On1 Photo Raw.  The only thing I did is add my photo logo and resize the image on export.  I use On1 Photo Raw as my main photo editor and organizer tool.

I sent this image to Luminar from On1 Photo Raw, selecting the “Edit the raw file option”.

The settings I used in Luminar for this image are below:

Screen-Shot-2018-08-05-at-1.26.27-PM.png

Screen-Shot-2018-08-05-at-1.26.47-PM.png

Screen Shot 2018-08-05 at 1.24.58 PM
Luminar has a handy before and after view; the slider can be adjusted to show more or less of the before image.
20170509-DSC_3619
Here is the image edited with Luminar.  I’m not really happy with the logo application, but there is a special preset that can be downloaded to help with that which I haven’t done yet.  To be fair, I’m not 100% happy with the logo function in On1 either.


error: Content is protected !!