Roaring into the week ahead!

Showcasing the beauty of Mother Nature
Roaring into the week ahead!

I’ve had a lot going on recently on the editing side for my images and have been experimenting with new workflows and combinations of software. I’ve recently made the move from Lightroom over to On1 Photo Raw, and while it is a big learning curve, I am definitely enjoying the process. I had downloaded the trial of On1 after reading reviews that suggested it might be a better option than Lightroom for Fuji X raw files (I’m in the process of making the jump from Nikon to Fuji; new camera and new software all at once). What impressed me the most with the On1 software, and the reason I took the plunge with it, was I opened up some raw files both from my Nikon cameras and my Panasonic camera, and found they appeared much sharper just from the initial work of the raw processing engine, without me doing anything to the files.
I had flagged this photo to work on, and it is definitely a challenging image. It was shot at 1/250sec, f5.6, ISO 25,600 at 5:15 in the evening and the lion cub was in a deep, heavily shaded thicket. Whether the steps I took are the ones I would do again, I don’t know, but I am pleased with the end result for this one.
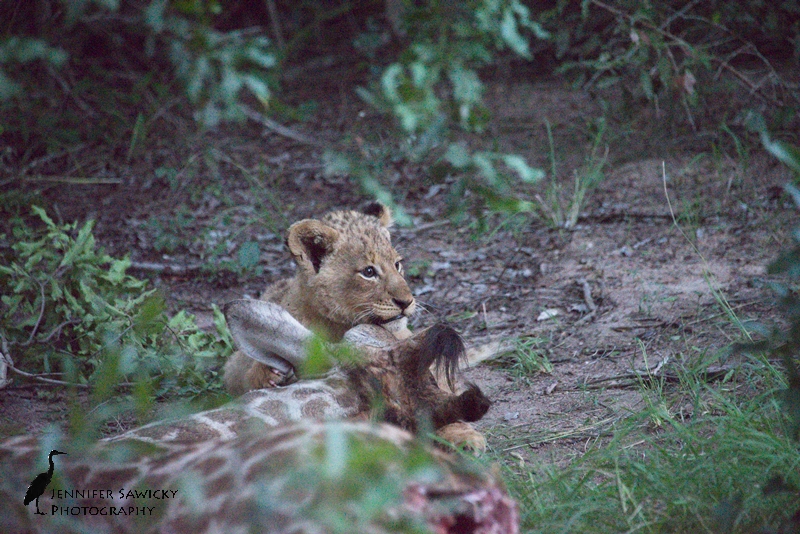
I knew I wanted to use Topaz Denoise for my noise reduction, so I moved the image from On1 Photo Raw into Photoshop to do my editing work. Other than the initial raw processing with lens corrections, I didn’t do any editing work on this image in On1 Photo Raw.
I ran Topaz Denoise 6 as a filter from Photoshop, and selected the Nikon D800 ISO 25600 preset, as they don’t have presets for the D600 or D610, and I found the results for the D800 gave me the best image quality.
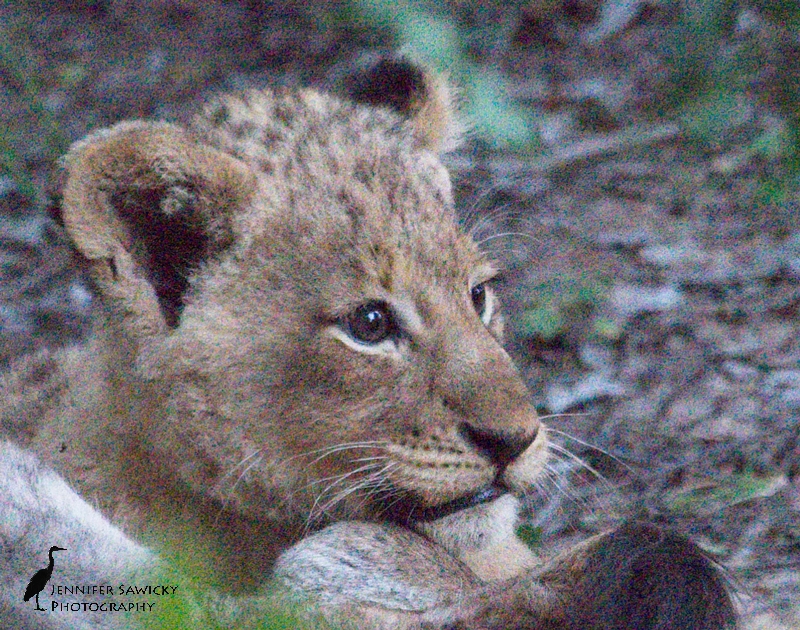
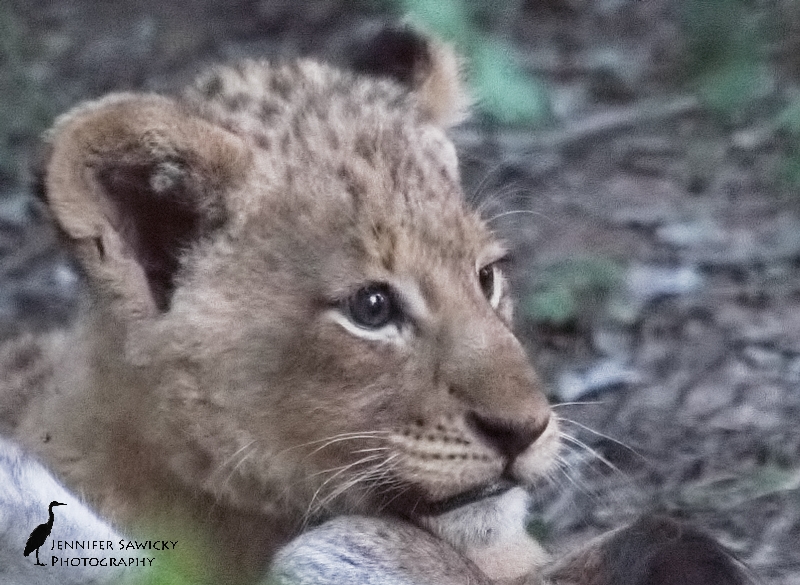
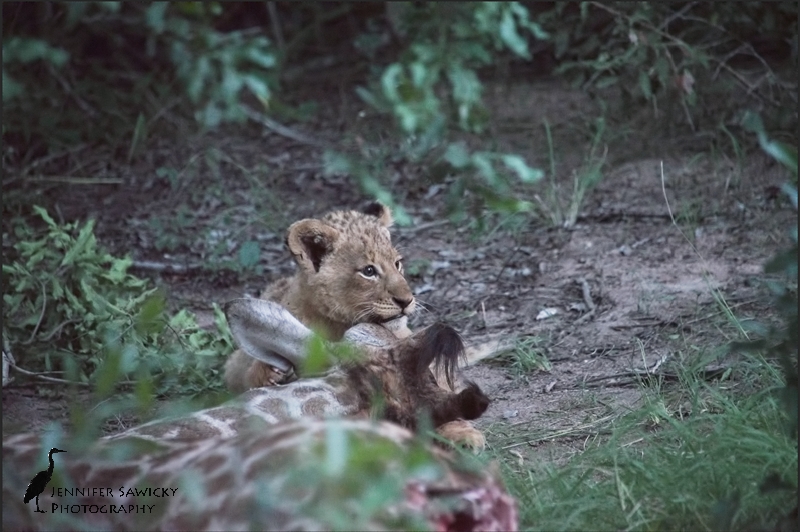
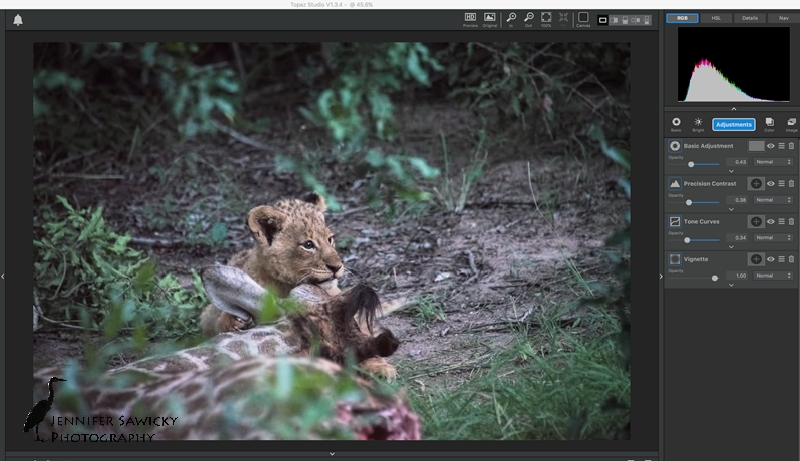
After Denoise was complete, I could have gone back into On1 to do further work on the image, but I decided to stay within Photoshop and instead played around with the new Topaz Studio that I downloaded earlier this week (I’ve been using the Topaz suite for some time as filters from Photoshop, but they haven’t been go-to’s in my workflow).
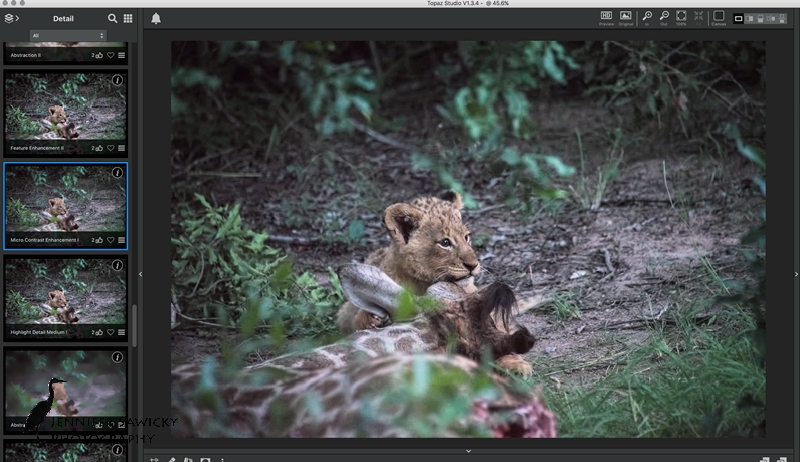
Sharpening was my final step, which is a little tricky when you have an image that is really noisy. I stayed within Topaz Studio and went to Detail to see what could be done.
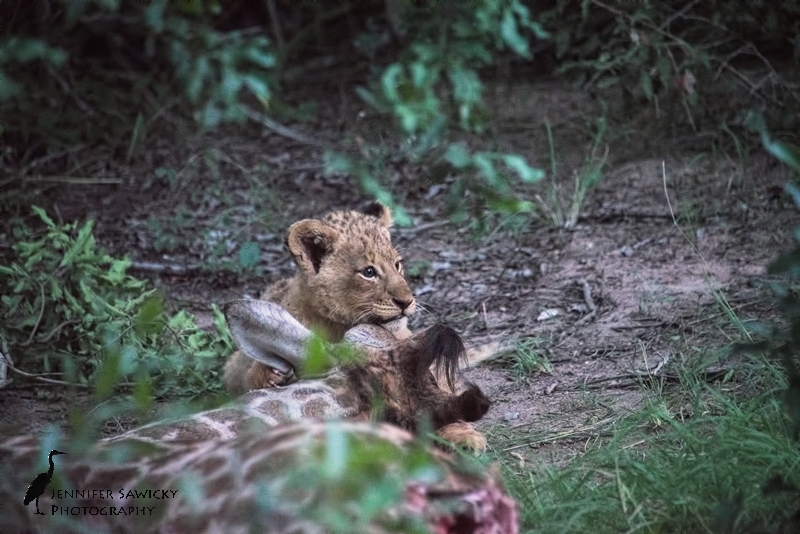
There are dozens of different ways to work on this image. I’m sure I could have done everything in Photoshop, Lightroom, On1 Photo Raw or Topaz Studio, or using a combinations of plugins like MacPhun’s Intensify and Focus or the GoogleNik filters. This was just the way I decided to work on this image, as I look to see how the new resources I have work and how to make them work together. Right now, I am doing my raw processing in On1 and using Photoshop when I want to use other filters and plugins, but I can’t say I have any real sort of workflow using these new tools. It’s all a work in progress
Let me know if you like the Before and After posts; I’ve done one previously also working on a seriously noisy image. You can find that here if you are interested (and I must say, looking back at that image, the workflow I used here yielded much better results!)
Please visit:
www.jennifersawickyphotography.com for wildlife, landscape and nature inspired artwork.
and
https://shopvida.com/collections/jennifer-sawicky for textiles inspired by my photography.