Month in Review – November

November’s Topic of the Month – The Night Sky

While I had the opportunity to edit and share images from my night sky workshop in October and some older images as well, I didn’t actually have the chance to get out and shoot the night sky in November, so I guess the topic of the month was a bit of a fail.  There is always another night to get out, and now that we are into the very short days of winter, I don’t have to stay up too late to do so.  Fingers crossed I can get out and get some local images…. maybe even some aurora shots if the stars line up 🙂

What’s new this month?

I’ve come to the realization this month that in 2018 I’ve done some really deep dives into editing in lots of different ways, but I’ve really not spent much time out shooting, which feels like a real missed opportunity, and something that I need to amend moving into 2019.  When I do get out with my camera I quickly get into the zone and find it such an enjoyable activity, that I really need to prioritize it more.

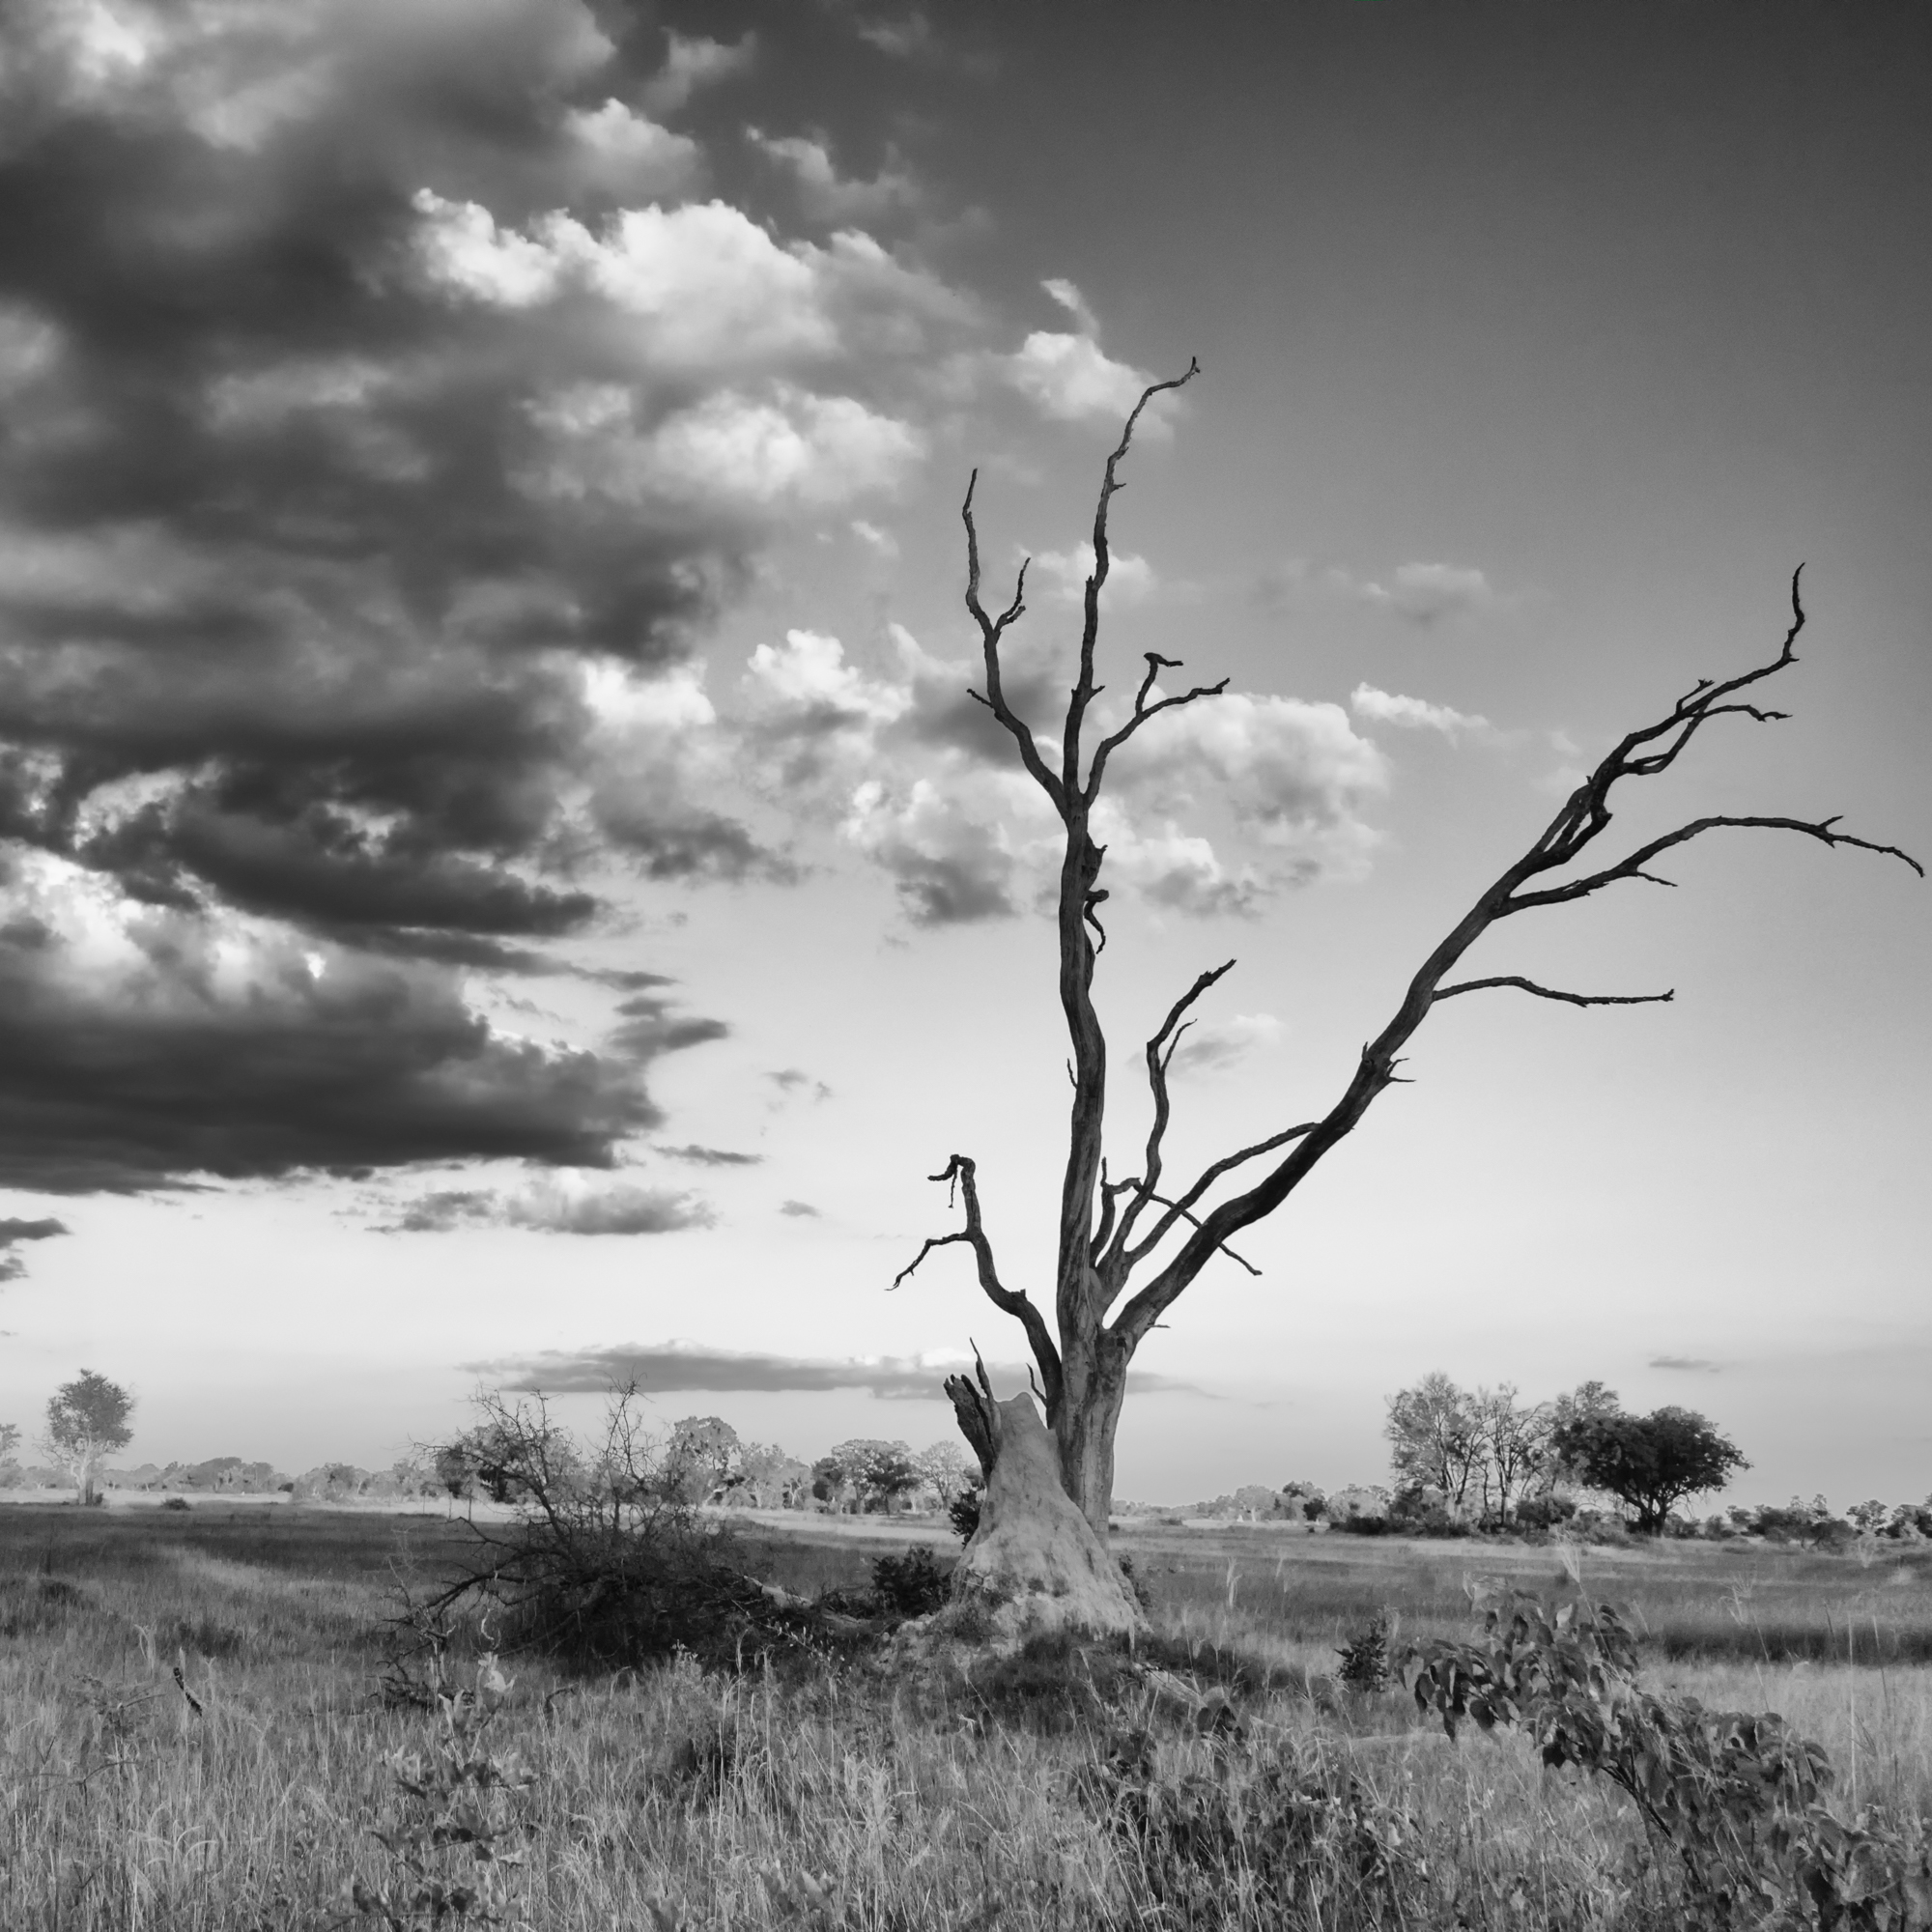
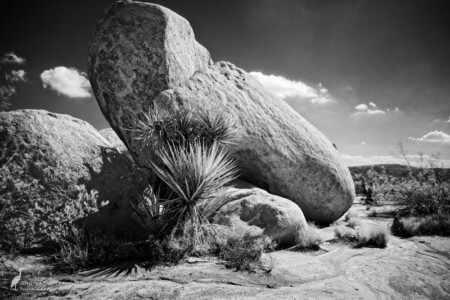
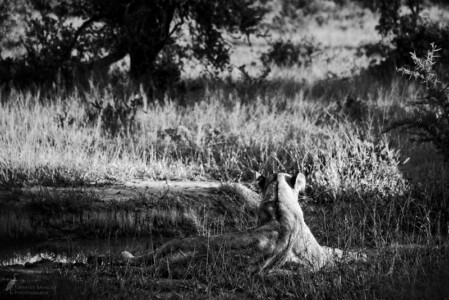
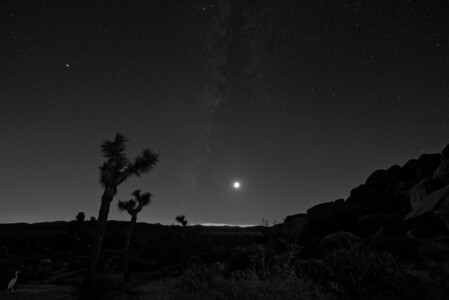
5 favourites – November

What’s coming up next?

I’ve decided not to have a specific topic of the month in December.  The month always slips by in such a whirlwind of activity and family time that I would rather just share when I can, and explore what interests me at a given moment, than trying to fit into a specific topic.  I’m also going to spend some time thinking about topics and projects for 2019, which is coming up so soon.

2018-11-18: The Night Sky

Mother Nature has certainly not been cooperating with my plans to get out and shoot at night.  While I still have images from Joshua Tree that I would like to work through, I thought I would switch it up this week and edit some old images instead.

DSC_0019
This image was shot at Green Lake in Whistler BC.  I was in the area for a multi-day wedding celebration, and set up my camera to take images to create a star trail while I sat around a fire drinking beer and enjoying the company of good friends.  This was done with my first DSLR camera, a Nikon D5100.  I still think I am pretty lucky that I didn’t tumble into the lake when I went to collect my tripod later in the evening 🙂
_DSC0018
I’ve not kept up to date with it recently, but in the past I have tried checking in with a northern lights forecasting site, and if the forecast is good and the weather clear, I’d head out and with my camera and see if I could see anything.  The lights were very faint on this night, but I think the combination of the faint purple glow and the warm tint to the clouds from highway lights in the distance looks pretty.
_DSC0523
The best evening I have viewed northern lights I saw a proton arc form and dissolve over about a half hour period… all from my driveway.  The milky way appears faintly above as well.
_DSC0512 copy
The proton arc as it was forming.
_DSC0493
A beautiful combination of magenta and green.
_DSC0049-Edit
No northern lights in this one, just a starry sky enhanced by some whispy clouds illuminated by the rising moon.


2018-11-11: The Night Sky

The weather this week wasn’t conducive to getting out and shooting at night, so I have worked through a few more of my images from Joshua Tree.  When editing, one of the things the workshop instructor mentioned really stuck with me, and that is to really watch the saturation of star images.  I really tried to keep things as natural as possible, although it can be fun to crank things up to 11 and see what happens 🙂  Maybe next week.

DSCF1751
Planes overhead and lots of traffic heading for the park gates after the sun went down.
DSCF1703
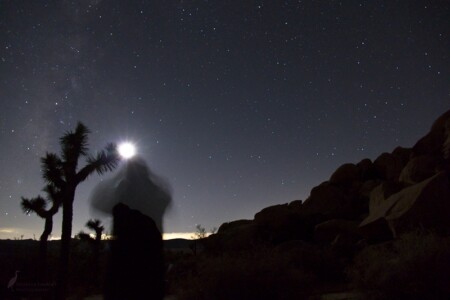
The milky way rising over the Joshua trees.
DSCF1726-Edit
What are your thoughts on night sky images in black and white?  I really like them personally, although there is a real risk of the image being way too dark.

While I was shooting with my main camera, I had set up my Panasonic camera on the hood of my car with a gorilla pod, and set it to take a series of images to make into a time lapse later.   It didn’t turn out quite as planned, but I’ve included it here as it shows all the traffic from the parking lot, as well as other photographers.   Since I was doing a time-lapse series, I didn’t have the long exposure noise reduction turned on, and I think the still images from the Panasonic really would have benefitted from having that done in camera.

P1040333 copy.jpg
This was the last shot I captured while my camera was set in time lapse mode.

Wishing everyone a wonderful week ahead.

2018-11-05: Monochrome Monday

For this week I worked on a few images from my time in California.   Compared to my trips to Africa, I took relatively few photos, but I have a good number that I am interested in playing around with to see what happens.

DSCF1473
I spent a lot of time outside relaxing with my camera nearby in case any interesting birds popped into the yard, but found myself also being drawn to the beautiful shapes of the palm fronds.

One of the things I picked up while away was an infrared filter for my camera, and I took it out and started playing around in Joshua Tree when my photo workshop was over.  I have so much to learn about all the nuances of infrared photography, but even without doing the proper things, like setting a custom white balance, I am still happy with what I was able to come up with when converting the images to black and white.

DSCF1799
I wish I would have written down which of the stops through the park this was; I was drawn to the wonderful boulders and all the desert plants and cacti that surrounded them.

DSCF1800

2018-04-04: The Night Sky

I decided on the topic of the night sky for November, mostly because I spent an evening during my holiday at Joshua Tree National Park at a night sky photography workshop, and I have images I want to work through.  Also, November may have some potential for night sky photos at home (since it isn’t too bitterly cold yet, and night is falling quite early, which is good for an early bird like me).

Just getting to the workshop proved to be quite an adventure.  The night before, a rare thunderstorm rolled through the desert with heavy rain, and there were a lot of road closures due to small local mudslides.  In the town of Joshua Tree, the main highway through town had over 6 feet of mud (and a buried Mini Cooper car) in the middle of the highway.  When setting off in the morning, I headed toward the Cottonwood gate, planning to head up to the Oasis visitors centre through the park, but that gate turned out to be closed (and would remain so for several days to get everything cleaned up). Then there was a substantial backtrack to get back on the interstate and head to the other gate in Twentynine Palms, but through there I encountered more detours and terrible road conditions.  I made it there in the end, albeit rather late and after the class had already started.

DSCF1773.jpg
I headed back Sunday morning for the second part of the workshop, by then the main highway through the town of Joshua Tree had reopened.  These are just some of the huge piles of mud that had been plowed along the side of the road.

Despite the crazy weather the night before, and threats of potential storms during the day of the workshop, the weather couldn’t have been more beautiful, with clear skies and just a few wispy clouds leftover.  Besides the driving conditions to get to the park, the other downside to the weather was as the evening cooled, there was a lot of moisture still in the air, causing dew to form.  I wasn’t worried about my camera (some of the people that were local, and not used to the moisture that I am, were quite alarmed) but it did mean that images started to appear soft and fuzzy later in the evening.  Everyone packed up by about 9:30, because by that point it became impossible to get any clear images.  Looking through my images, I can see a definite deterioration in sharpness as the evening draws on, but I still like the images from later in the evening, despite the softness.

Here are a few of the shots I have edited so far.  I haven’t broken the habit of working in multiple editors, so I have images done in all of my programs.

DSCF1691On1
We were set up in a day-use only part of the park, so there were a lot of people packing up to leave as we were setting up and taking images.  The headlights and taillights of the vehicles provided some light painting on the foreground (though not always hitting all the areas I would have liked!)  Edited in On1 Photo Raw.
DSCF1696Luminar
A joshua tree illuminated by car headlights, edited in Luminar.
DSCF1697-EditTopaz
People moving to and fro with headlamps and flashlights.  Image edited with Topaz Studio.
DSCF1764 copy.jpg
The last image I took in the evening, with the milky way faintly decorating the sky and a plane moving through the scene.


2018-10-21: Comparing software for landscape images

I’m back from a very restful holiday to Southern California and a night sky photography workshop at Joshua Tree National Park last weekend.  I’ll have some photos and stories to share from that in the coming weeks, but for now I wanted to get back to my topic of the month, reviewing how On1 Photo Raw, Luminar and Topaz Studio compare in editing images with different issues.  The last post focused on high ISO, noisy images, and today I wanted to look at landscape images, and see how the different programs deal with removing sensor spots and other distractions.

I’m using images from my last trip to Southern Africa, as I was using the Nikon D610 on that trip, and that camera collected sensor dust very quickly.  I had the sensor professionally cleaned prior to my trip, and without ever changing the lens, by the end of 4 weeks, I was having spots show up at f8.  The images can be a bit frustrating to edit with so much gunk to remove, but they are great for putting different software to the test.

The first image was edited using Topaz Studio.  There were only a few spots to deal with, since this was shot at 1/250sec, f5.6, ISO 2000.  My camera really wasn’t set for shooting landscapes; I had been taking photos of animals prior and saw this scene and quickly composed and shot on the go (I don’t think the vehicle even stopped for this).

20181021_LandscapeTopaz.jpg
It was a chilly, misty morning when I shot this on the last day of my South African trip last year.  I am happy with the spot removal from Topaz, and really like that the pockets of fog in the distant hills show up very much as I remember the morning.

Next up was Luminar, and I anticipated issues based on my previous use of the erase function.

20181021_LandscapeUnedited.jpeg
This is the unedited image; I didn’t hold back and sent one of the worst (for sensor spots) sunrise images I had over to Luminar to see how it would manage.
20181021_LandscapeLuminarEraseOption.jpeg
I first tried using the erase function, and it left larger, yet fainter circles everywhere I clicked trying to remove the sensor spots.  It’s a bit tough to see at this size, but the results are very disappointing (note no other edits were done to this version, other than the attempt at spot removal).

Thankfully, the Luminar clone and stamp tool works very well; so if I had one bit of advice to give, don’t waste your time trying to use the eraser tool, and go straight to clone and stamp for any spots or distractions in your images.

20170513-DSC_5275.jpeg
Using the clone and stamp tool effectively cleaned up all the sensor spots and the software was great for bringing out the beautiful tones to this sunrise image, without it ending up looking oversaturated.

Last, but not least, is an image edited using On1.  I shot this image in the early morning on Ngala Private Game Reserve, just after a storm passed by.  We had a beautiful sunrise, huge cloud banks, a couple of rainbows… I didn’t really know where to point my camera!  I’m really happy with the way On1 dealt with the sensor spots; there was a little bit of noise / graininess in the clouds that I also worked to balance out.

20181021_LandscapeOn1.jpg
1/250 sec, f8, ISO 500.

I’m going to call it a draw on this one.  Each program dealt effectively with the limited amounts of noise in the images, and was able to deal with sensor spots and other distractions effectively.  I was able to get results in On1 the fastest, but even with the huge number of spots to deal with in the Luminar image, I didn’t spend more than 5 minutes start to finish editing any of these images.

I hope you’ve enjoyed my selections for the day; check back next week as I look at editing images of our feathered friends.

Wishing everyone a fantastic week ahead!

2018-09-16: Topaz Week 2

I am continuing to enjoy working in Topaz Studio, and now that I am getting more comfortable with the interface, I am starting to notice some differences that may affect how I use the program for future images.

First off, I have noticed that there can be a dramatic difference in how Topaz renders the raw file prior to having any processing done, and it seems to be very dependant on which camera I was using.  This lion image was shot with my old Nikon D610 (which I traded in late last year for a Fuji XT-2).

20170515-DSC_6404.jpg
This is the unedited image, exported from ON1 Photo Raw.
Unedited Topaz Raw File.jpg
This is the unedited image from Topaz Studio.
Luminar Raw file.jpeg
For comparison purposes, this is the raw file out of Luminar.  The results are quite similar to the On1 version, especially in terms of the colour rendering.

As you can see, with this image there are fairly dramatic differences in the colour rendering, the amount of contrast and detail in the image, and how bright the image is.  The raw file appears to have a significant magenta cast in the Topaz file, compared to a more neutral tone in the On1 raw file.  I have been finding colour correction a bit tricky with Topaz so far.  I think of all the tools I have available to me, Luminar does the best job at correcting colour and especially removing colour casts.

But, even though I started from a different spot editing the raw file in Topaz than I would have from On1, I am happy with the results I was able to get with the image.

Edited image.jpg
Here is the finished image.  I spent time with this gorgeous lion early one more whilst on Londolozi Game Reserve in South Africa.  May, 2017.

With this next image, the difference in colour rendering was far less between On1 and Topaz Studio, so as with all photo editing, images do need to be looked at on a case by case basis.  The landscape image below was shot with my Panasonic FZ1000.

On1 unedited
The unedited raw image from On1 Photo Raw.
Topaz unedited
The unedited image from Topaz Studio.

In contrast to the lion image, the raw file in Topaz Studio looks better to me than through On1, a little bit brighter and with a bit more detail.

Topaz edited.jpg
Here is my final edit of this image through Topaz Studio.  I was able to bring out depth of colour and detail in the image, without completely removing the grainy haze from the sand storm that was kicking up in the distance.  Taken at Hoanib Camp in Namibia, April 2017. 

Here is an image from this summer, shot with my Fuji XT-2.  I sure miss sitting outside watching the hummingbirds zip around the yard.

On1 unedited hummers.jpg
Unedited from On1 Photo Raw.
topaz unedit hummer.jpg
Unedited from Topaz Studio.

The difference in rendering on the Fuji files is far less dramatic.  The one out of Topaz looks flatter, but that’s what the editing process is for.

Here is the edited image:

topaz edit hummer.jpg
Edited through Topaz to bring out the detail, and get rid of the distracting elements of the background (in this case by cropping them out).  On second glance I could have made the image a bit brighter, but since the purpose of this exercise was to look for differences in how the raw image looked, I’ll leave it as is.

After doing a few of these image comparisons, I am finding that there is a consistent, dramatic difference in the way On1 and Topaz render files from my old Nikon camera, with the files being significantly more “true to life” in the On1 rendering.  Since I don’t have the Nikon anymore, this isn’t an issue that will plague me beyond finishing up the backlog of images I have that I would like to edit, so I can make smart choices about what software to use when.  The differences between the raw rendering with files from my Panasonic or Fuji cameras is not so dramatic, and if I am using Topaz Studio, I have a better starting point with files from those cameras than I do with the Nikon files.


2018-08-20: Monochrome Monday

I was inspired by my post yesterday on white balance to continue editing images from my time at the Skelton Coast in Namibia.  Given the flat light in a lot of the images, I thought black and white edits might be a good option.  I am quite happy the way the turned out.

All of the images from my time at the coast were shot with my Panasonic FZ1000, which I have mentioned before is a great and capable camera, but sometimes the quality is a bit lacking when comparing to the files I got out of my Nikon or that I now get from my Fuji.  But these were shot at the start of a long trip and I thought it would be wise not to subject the Nikon to blowing sand, given its terrible habit of picking up dust particles.  So, I’ve done the best with what I got that day.


20170426-P1020613
Ripples in a sand dune leading down to the ocean.  All images April, 2017 during a trip to the coast from the Hoanib Skeleton Coast Camp.
20170426-P1020669
A group of seals perched on a rock.  The seal colony had a smell that was out of this world (and not in a good way).  We were all grateful our vehicle had windows, and we kept them closed as much as possible.
20170426-P1020689
No image I took did justice to the number of seals in the water.  At least here one is jumping, so you know what all the other little black specs in the water are!
20170426-P1020693
A lone seagull on the fringes of the seal colony.  We had hoped we might see a brown hyena during our visit, but only saw remnants of their visits littered along the shoreline; they seemed spoiled for choice with all the baby seals.

2018-08-19: Creative white balance

I recently watched a Luminar editing tutorial discussing technically correct vs creative white balance.  Since I am almost always shooting outside, in changing light conditions, I don’t have a shots with a grey card in it to actually come up with the technically correct white balance.  I tend to leave my camera on auto WB, and then adjust it as needed in post processing.  But the tutorial still got me thinking about the different mood and feel that an image can have, depending on the choice of colour temperature.

I decided to play around with this concept a bit with a few images that I took on the Skeleton Coast of Namibia.  We took a short flight from camp to the coast and took a drive through the dunes, where it was warm and sunny with clear blue skies, but once we were at the coast line, low cloud and fog swirled around in strong winds, causing subtle, but rapidly changing light conditions as we visited a seal colony, explored a few of the wrecks along the coast, and enjoyed a picnic lunch on the beach.

On a previous trip I had flown over a portion of the Skeleton Coast, and found the abandoned buildings and shipwrecks fascinating to see, so having the change to see some of the wrecks up close was really interesting for me.  The different colours and textures of the rusted, twisted metal against the natural sand, rock and water provided lots of options for photos.

20170426-P1020709
A portion of wrecked boat on the Skeleton Coast.  Here I chose to play up the blue of the background water and intensify the textures in the rusted metal.  I feel the cooler tone of this image intensifies the feeling of desolation I get from this image.
20170426-P1020710
Taking things in a different direction, this image is much warmer, as well as a bit faded and matte.  Combined with the subject, I think it lends a sense of age to the image.  You begin to wonder just how long this boat has been breaking apart on the coast.
20170426-P1020716
This image would be closest to a technically correct white balance, though given the changing light conditions, all of the images are representative of how the area actually looked at different moments throughout the day.  I thought this small piece of metal looked a bit like the blade portion of a ice skate.


error: Content is protected !!