


Showcasing the beauty of Mother Nature


Last week I decided I would play around with one of the new features in Luminar, a filter called AI Sky Enhancer. Perhaps the timing wasn’t so good though, as yesterday evening I downloaded the newly release Luminar 3, and with the added library function, I was having a bit of trouble navigating the system (since I haven’t yet looked at any resources on how to use the new software). Despite a bit of floundering within the libraries function, the actual photo editing and filters layout remains the same, and I was able to complete my self-appointed task.
This first image wasn’t solely about the sky; it’s kind of hard to ignore the leopard in the tree! I wanted to enhance the natural colours of the sky and bring up some of the shadow areas. I started with the AI Sky Enhancer and added other filters as needed (which was how I approached all the images). I’ve included a split screen showing before and after and the edited image for each one I worked on.


Next up is a photo shot while on a boat on the Boteti River in Botswana. Shooting into the sun left the sky quite washed out; I am impressed how well I could enhance the sky colour and the clouds with Luminar without it becoming to HDR-like.


The Okavango Delta is an amazing place for sunsets; the colours in the sky are incredibly dramatic from my experience. With that much colour already, it is easy to take the image a step too far and have it look radioactive. The AI sky enhancer did a great job accentuating the detail in the clouds, without pumping the colour up to 11.


Finally I have included a sunset from the Hoanib desert in Namibia. There was a lot of airborne dust and sand that evening, so while I did do some noise reduction in the sky to reduce the visible grain, there is definitely still a lot of texture. This was also shot with my Panasonic camera, which is much noisier than the Nikon I was also shooting with. Regardless, I am please with the realistic tones, the detail in the clouds and the textures in the desert and the hills.


I’m going to ow have to spend some time familiarizing myself with the layout of the new Luminar software, so I can work using their library function in an efficient manner.
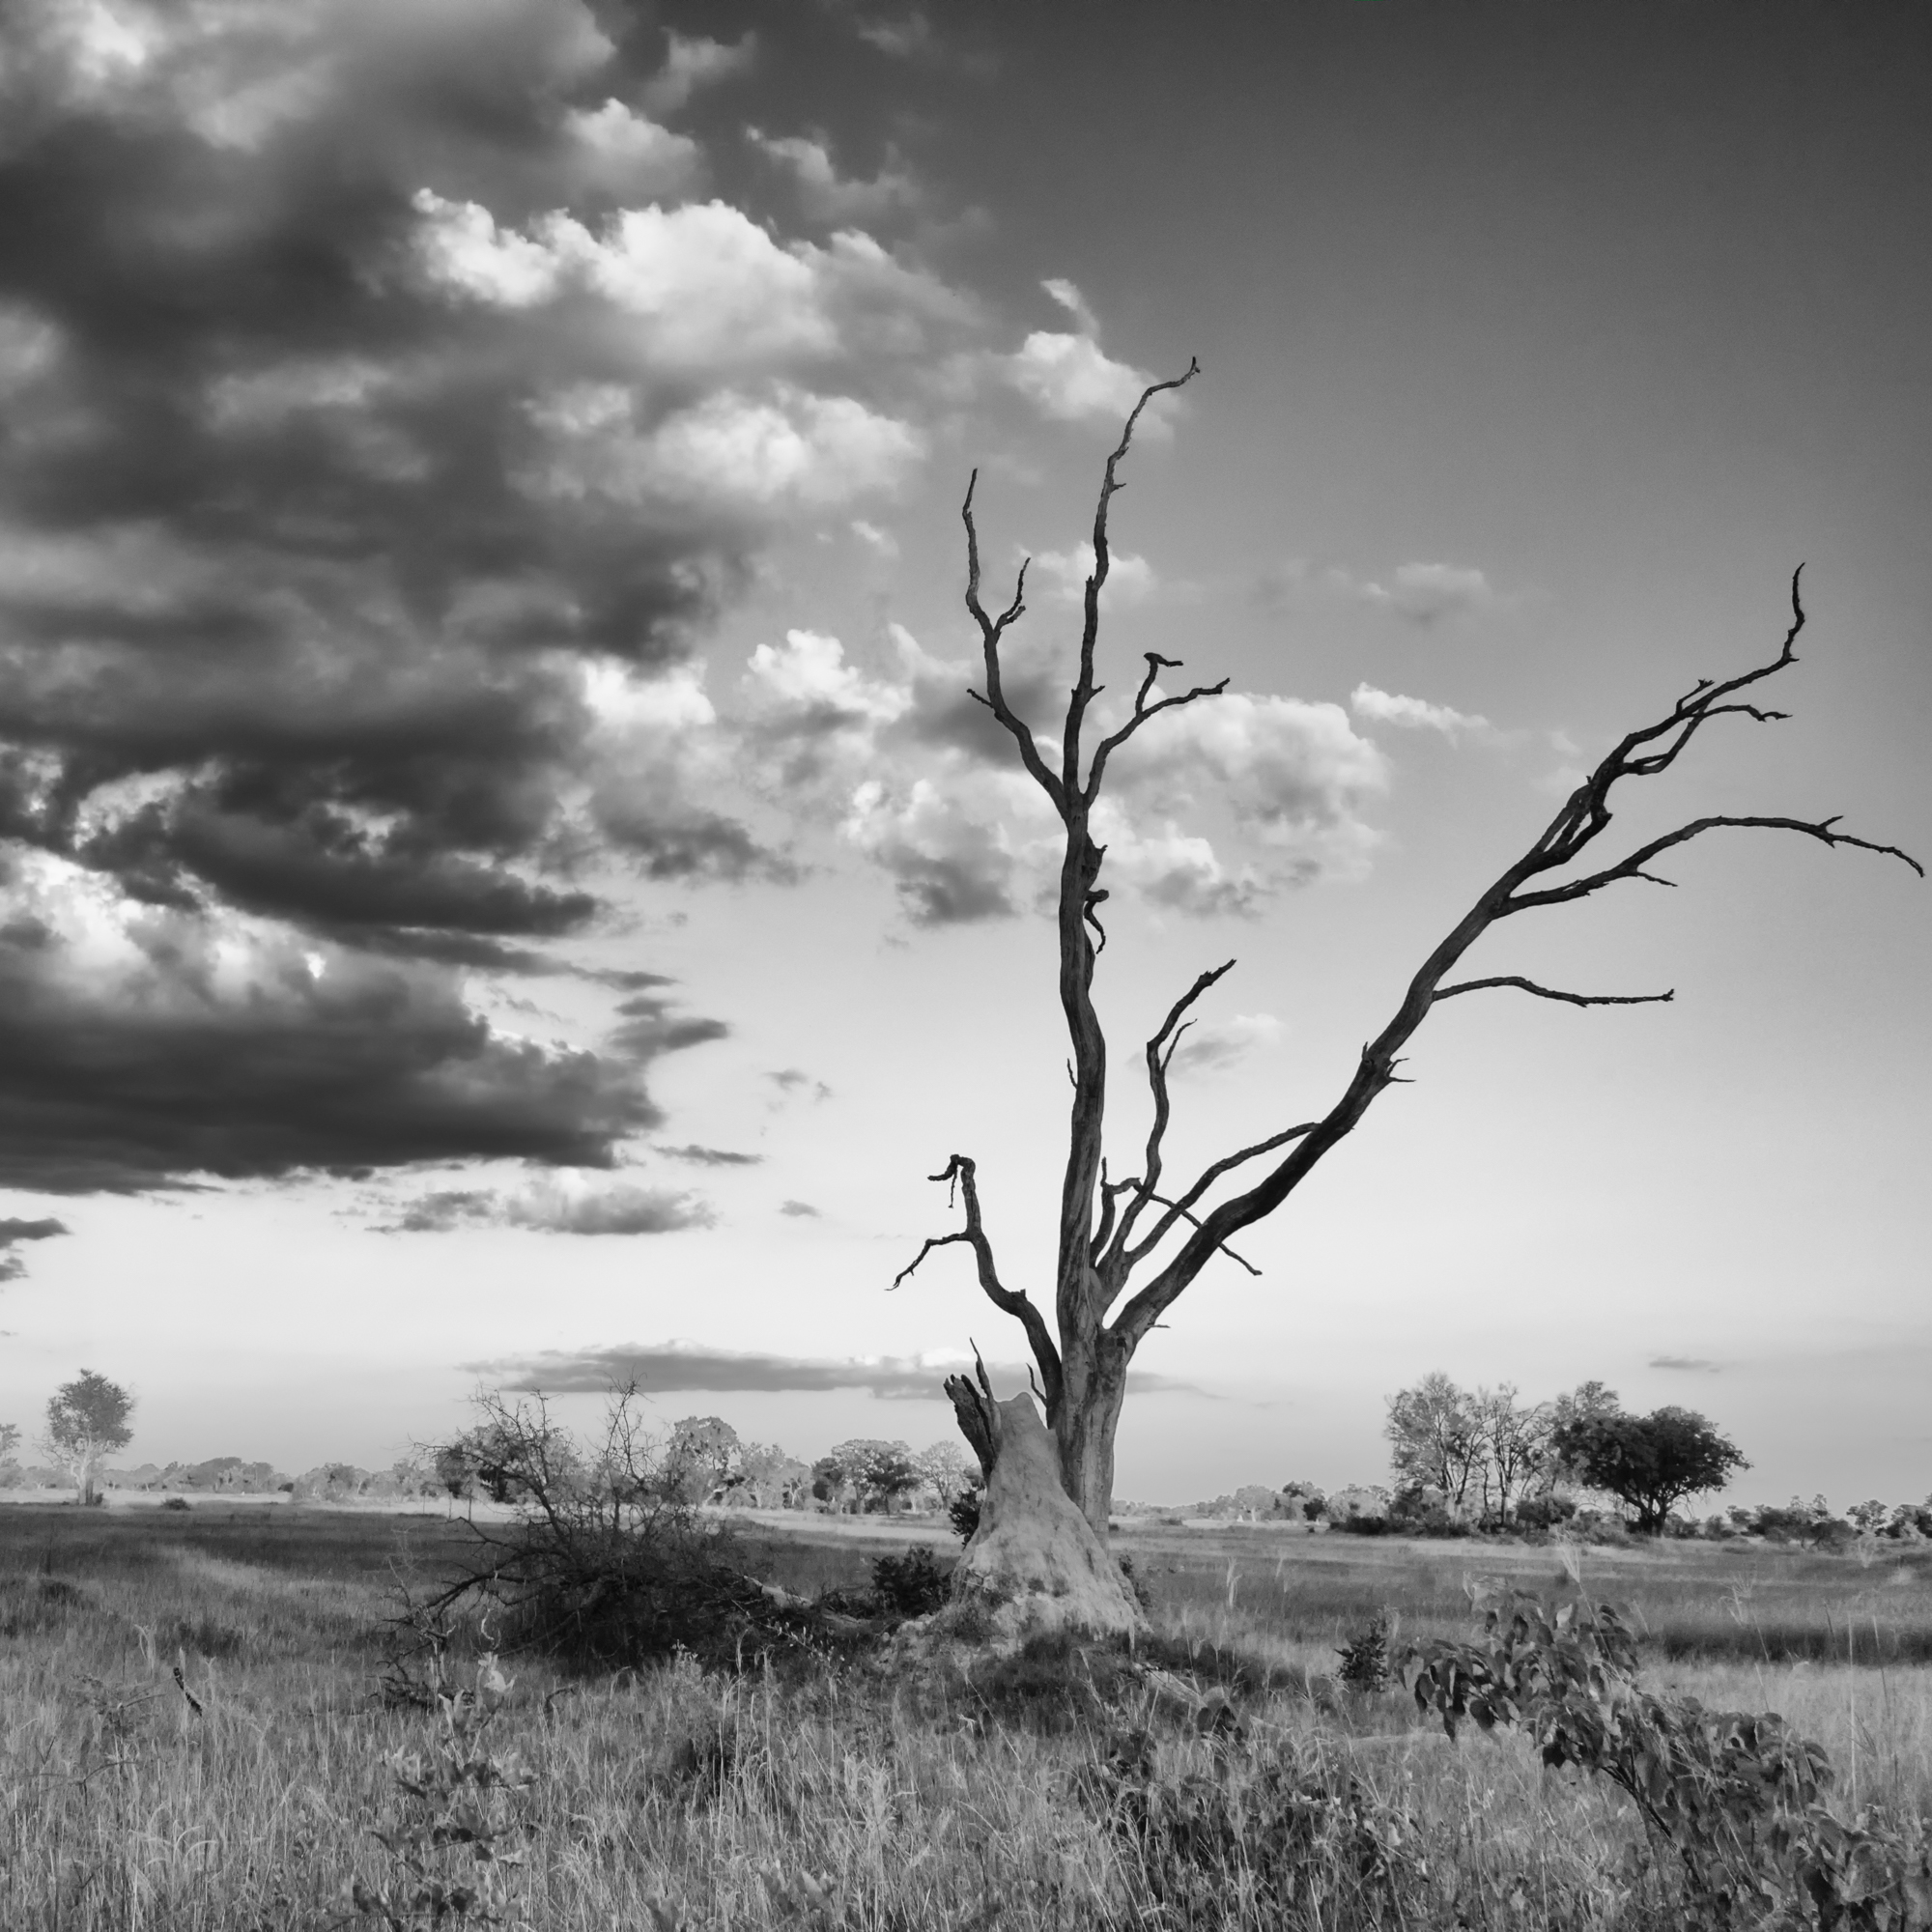
I think elephants look stunning in a black and white interpretation. The amazing texture of their skin gets emphasized in such a wonderful way.


Whilst in Namibia on my last visit, I travelled for a couple of days in the Etosha area. Being in the park itself is quite different to being on a private reserve, since there is no off-road driving allowed, but there was still a lot of great game viewing when driving around the park.
We were fortunate to come across a group of 3 young lion brothers, likely ejected from their pride within the past few months, as they had gotten to the age where they needed to be on their own. They still had the energy and playfulness of cubs though, chasing each other around a water hole. We were even more fortunate to be the only vehicle to being viewing these lions for the majority of the time that we spent with them, allowing us to get in a great position to watch them going about their day.


A heavily pregnant zebra pauses for a photo op in Etosha National Park.


I am continuing to enjoy working in Topaz Studio, and now that I am getting more comfortable with the interface, I am starting to notice some differences that may affect how I use the program for future images.
First off, I have noticed that there can be a dramatic difference in how Topaz renders the raw file prior to having any processing done, and it seems to be very dependant on which camera I was using. This lion image was shot with my old Nikon D610 (which I traded in late last year for a Fuji XT-2).


As you can see, with this image there are fairly dramatic differences in the colour rendering, the amount of contrast and detail in the image, and how bright the image is. The raw file appears to have a significant magenta cast in the Topaz file, compared to a more neutral tone in the On1 raw file. I have been finding colour correction a bit tricky with Topaz so far. I think of all the tools I have available to me, Luminar does the best job at correcting colour and especially removing colour casts.
But, even though I started from a different spot editing the raw file in Topaz than I would have from On1, I am happy with the results I was able to get with the image.

With this next image, the difference in colour rendering was far less between On1 and Topaz Studio, so as with all photo editing, images do need to be looked at on a case by case basis. The landscape image below was shot with my Panasonic FZ1000.


In contrast to the lion image, the raw file in Topaz Studio looks better to me than through On1, a little bit brighter and with a bit more detail.

Here is an image from this summer, shot with my Fuji XT-2. I sure miss sitting outside watching the hummingbirds zip around the yard.


The difference in rendering on the Fuji files is far less dramatic. The one out of Topaz looks flatter, but that’s what the editing process is for.
Here is the edited image:

After doing a few of these image comparisons, I am finding that there is a consistent, dramatic difference in the way On1 and Topaz render files from my old Nikon camera, with the files being significantly more “true to life” in the On1 rendering. Since I don’t have the Nikon anymore, this isn’t an issue that will plague me beyond finishing up the backlog of images I have that I would like to edit, so I can make smart choices about what software to use when. The differences between the raw rendering with files from my Panasonic or Fuji cameras is not so dramatic, and if I am using Topaz Studio, I have a better starting point with files from those cameras than I do with the Nikon files.