
My month of Topaz Studio is coming to a close. As with my month of Luminar, taking this time to dive into the program has left me feeling a lot more confident using it, and now it is another tool in my photo editing toolbox that I can use to bring out my vision in the images I have created.
Rather than focus on one specific thing for this post, I wanted to share some of my favourite things about the program.
Bringing out amazing contrast and detail
Back when I used Lightroom and Photoshop, Topaz Detail and Clarity were plugins that I would use when I wanted to highlight texture, especially in feathers and fur. The precision contrast and precision detail adjustments are the same tools found in detail and clarity, though they are still available as the plug in versions or as clarity and detail in studio, which give access to all the fabulous presets that those programs had. On this cheetah image below, I decided to use the precision contrast and detail rather than the in studio version of detail and clarity. Since these are sized for the web, some of the fantastic texture of the fur may be a bit lost, but it is definitely there.


Creating my artistic impression images
I’ve always enjoyed the Topaz Impression and Simplify plug-ins, allowing me to create painterly and whimsical effects to my images. Sometimes over to the top, sometimes subdued, those programs allow me to create something different with my images, and I love the flexibility they give me.

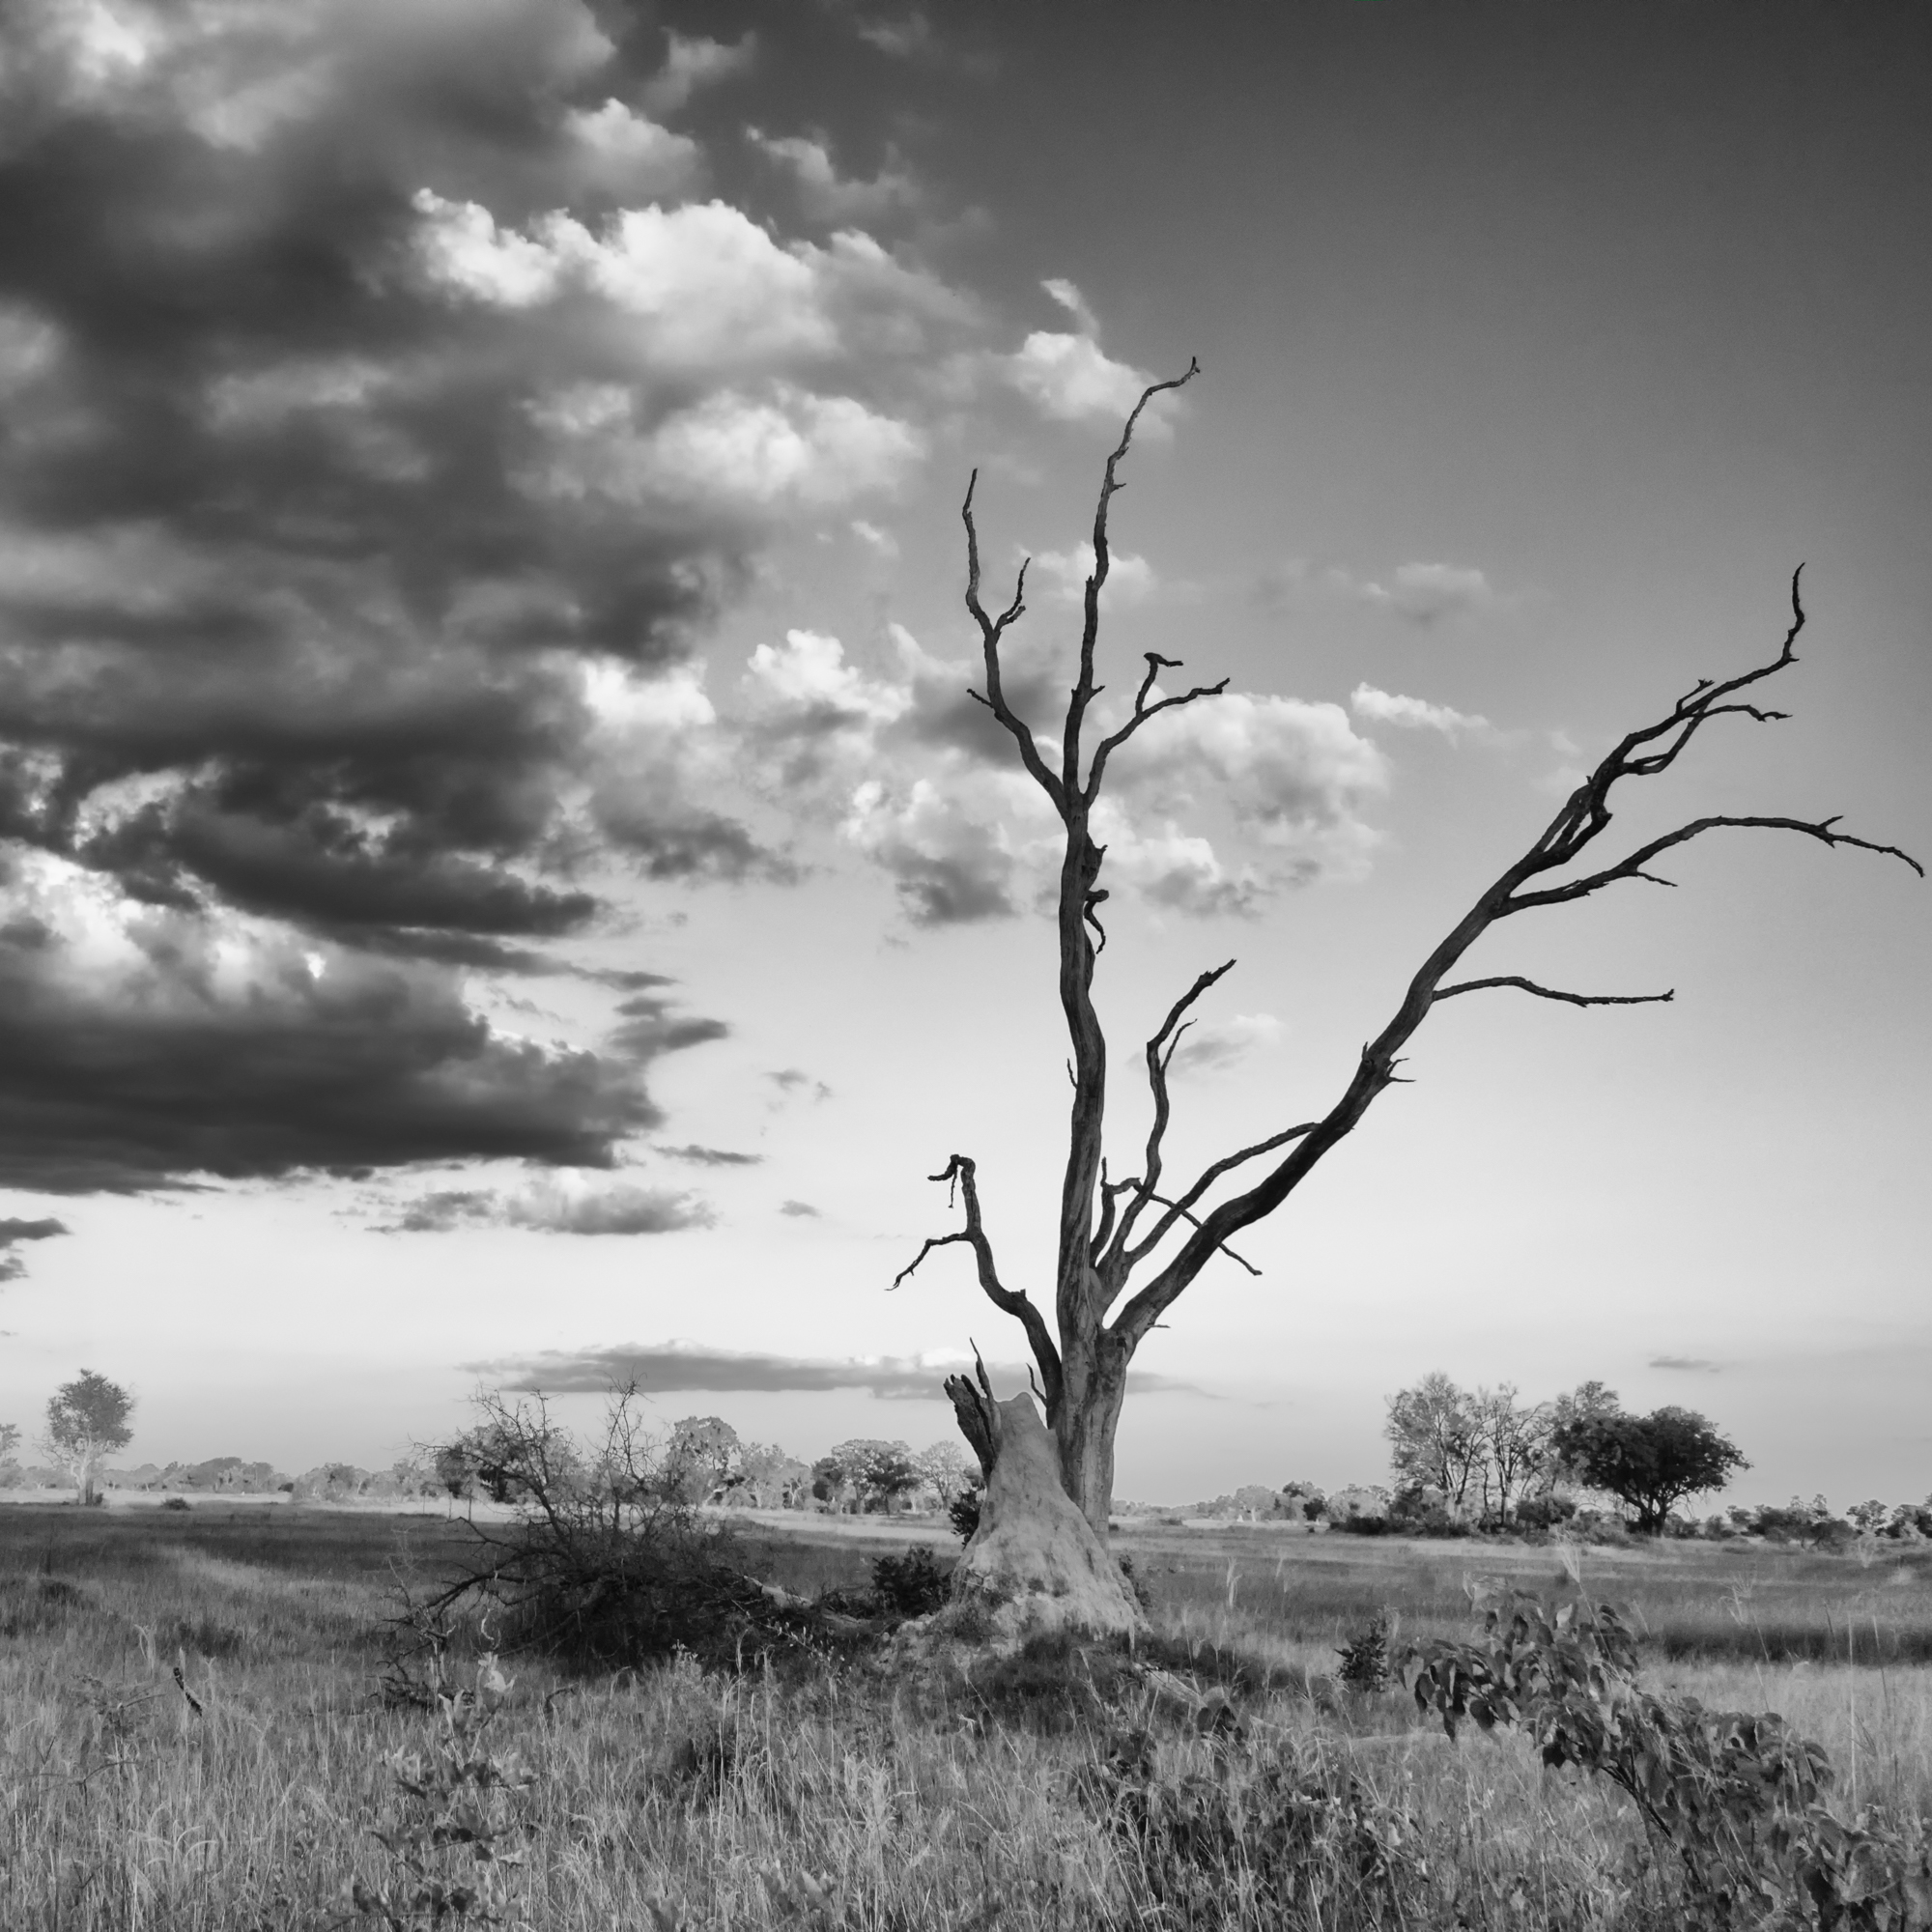
Quickly reviving lost detail
I think my favourite discovery in the Topaz Studio program has been the AI Clear adjustment, and it is one I am absolutely going to purchase to make sure I have it available to me. Many times I find myself out and about with a great scene in front of me, or a moment I want to remember, but the light is fading or there are deep shadows or perhaps fog (sometimes all of the above). I have found that the AI Clear adjustment can really get images like these back from looking grainy and soft, to full of detail and life. It’s just one step in the editing process, but it certainly is a powerful tool.


I have really been loving the ease of adding my watermark to my images; it is certainly less cumbersome than that current way I have to do so in On1. One of the drawbacks I have found with Topaz Studio is not being able to resize and export directly from the program. It means that for images being posted to the blog or my Instagram page, they always need a round trip back to On1 in order to be resized and exported. Not a deal breaker at all, but just adding an extra step to the process.
If you don’t have it already, I would absolutely recommend downloading Studio and trying it out. Given that the program is free to use with several adjustments, and there are 30 day trials for all the others, there really is nothing to lose (except maybe a little space on your hard drive) to give it a go.
I hope you’ve enjoyed my take on the program.
Wishing everyone a great week ahead!