As I mentioned in my August in Review post, I am going to spend the month of September diving into the Topaz Studio system. I had the full suite of Topaz plugins that I used to use with Photoshop, but the primary resources I used were the Impression and Remask plugins, and I never really spent the time learning the ins and outs of the others. I could utilize them, but I was never familiar enough to be sure which one I needed or to be able to use them to their full potential.
I spent some time this week watching a few tutorials to get a feel for properly using the Studio interface. I had found a few things were not intuitive for me, and watching the tutorials definitely helped. Studio comes with 10 free basic adjustments, and several of the Pro adjustments are included if you previously owned other Topaz products. They also have an option to try Pro adjustments for 30 days before you buy them, so I am going to trial a few additional adjustments that I have seen on the tutorials I have been watching. I have a feeling that may be a bit costly for me, as I have watched and now tried the AI Clear adjustment (which is pretty amazing), but we’ll see how things go once we get to the end of the month.
Below are links to tutorials I have watched so far. The Topaz Labs page on Youtube seems to have a lot of information and taped webinars, so I’m sure I’ll have more to share as the month goes on.
Topaz Studio can do a lot of things, including edit Raw files and save in multiple formats. But there isn’t an option for exporting and resizing for web, so while I am going to try and do all my adjustments through Topaz, I still have to take the files back into On1 to export at the proper size for uploading to the blog or to my Instagram page.
A few other differences to On1 Photo Raw and Luminar that I have noticed are the colour temperature under the basic adjustment is a simple temperature and tint slider, rather than having to opportunity to quickly try different colour temperature presets (daylight, shade etc).
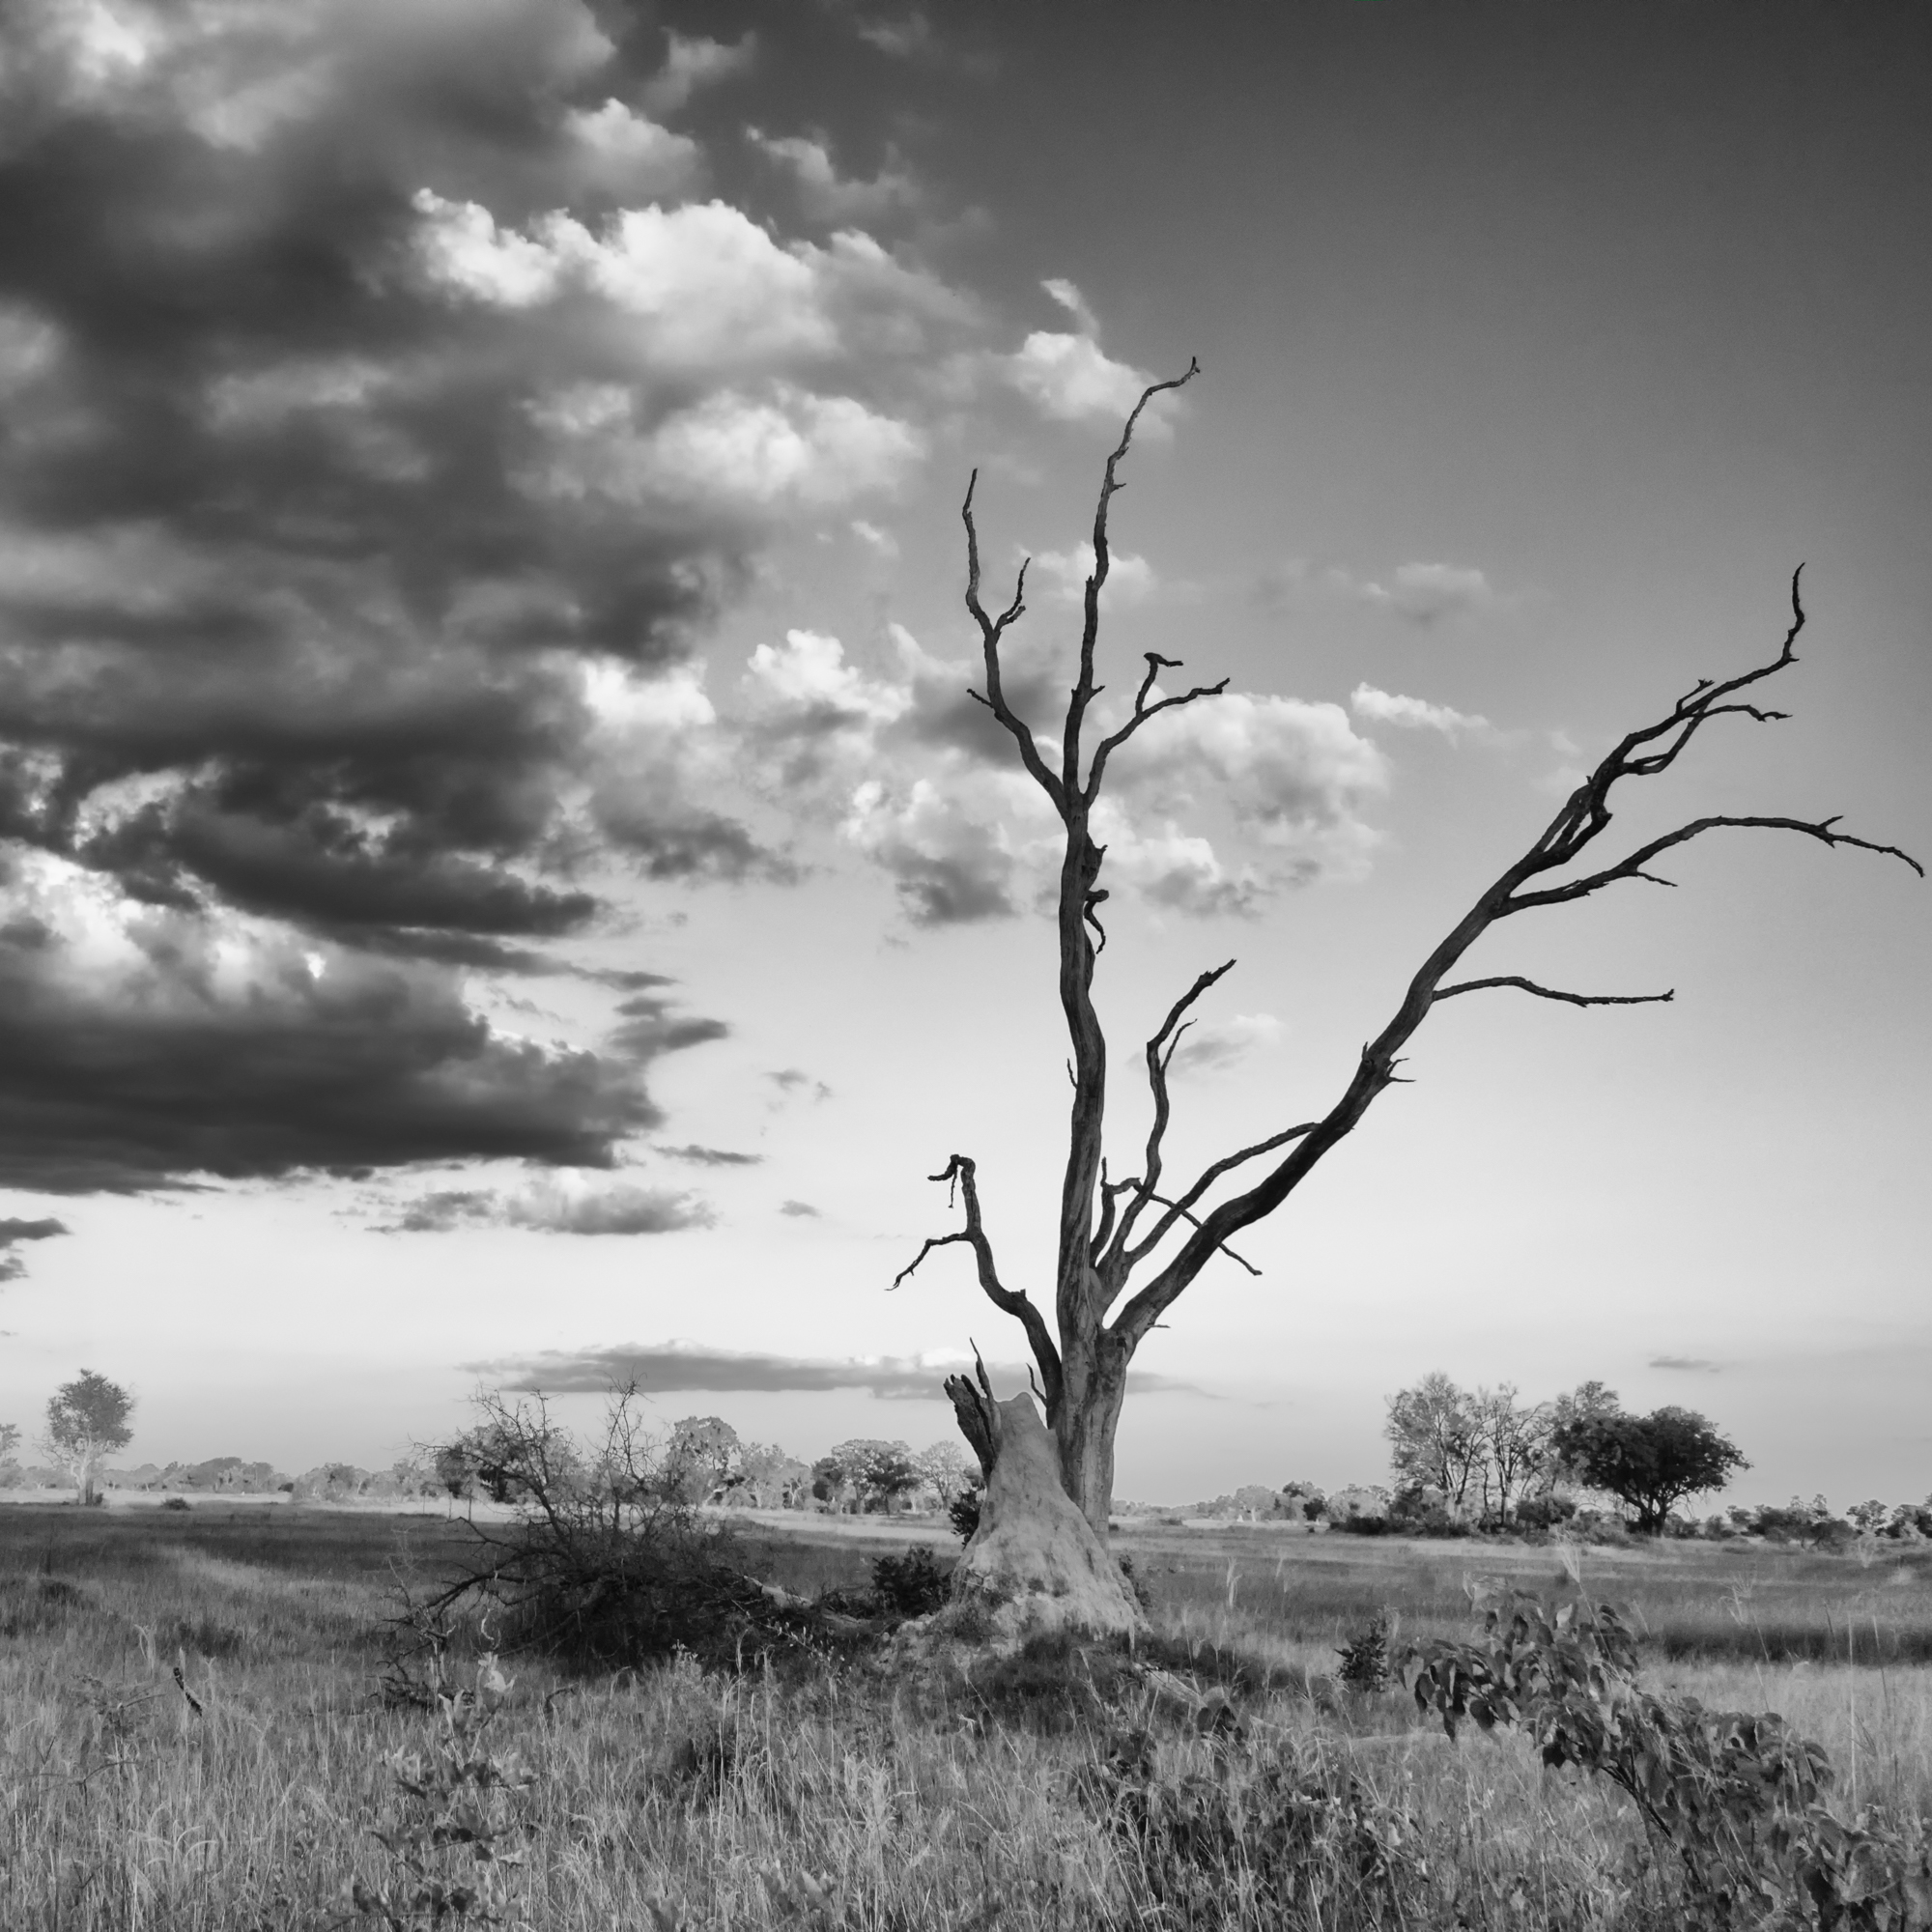
I’ve not had a chance to edit as many photos as I would like this week, but I am impressed with the results of what I’ve had the chance to work on. I’m posting 3 before and after images for reference; if anyone is interest in the adjustments I used to create the final images, please let me know and I will post screen shots.
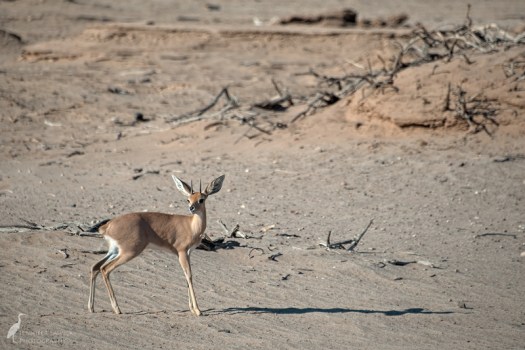
Here is a steenbok spotted near the Hoanib Camp in Namibia:

An oryx, also spotted near Hoanib Camp:


A springbok spotted while on a game drive in Etosha National Park:


The springbok image is the only one that I tried using some presets with. Topaz products such as clarity have the presets for the plugin available for the app. Using a preset, and then carrying on with other adjustments, was something that I had struggled with on my first pass with the program, but the key is to hit the apply button after working with one preset before moving on to the next. If there are any other Topaz Studio users that are struggling with that, I can post a couple of screen shots, but I found the answer while watching the Youtube presentation linked above featuring Hazel Meredith.
Well, that’s all for this week. I am hoping by next week to have had lots more options to put studio to the test and see what I can come up with.
Wishing everyone a fantastic week ahead.