As I mentioned in my July in Review post, this month I am going to be exploring editing images using Luminar 2018. When I was still using Lightroom and Photoshop, I used the MacPhun plugins quite a lot (especially the Tonality plug-in) so some of the interface and working of Luminar feels familiar, but I really wanted to take a deep dive with the program and get proficient is using it and develop a workflow around it.
Just to get this out of the way, I don’t have any affiliation with Skylum, the makers of Luminar or with any of the creators of the resources I may mention or share links to. Luminar is one of several editing programs that I use, and any links that I mention are from my searches online for Luminar editing tutorials and resources. I’m including links to them in case someone else may find them useful.
In terms of resources, the most logical place to start is direct with the developer. There are loads of videos on the Skylum Youtube Channel from Getting Started videos to tutorials that deal with specific processing situations such as landscapes and portraits. I watched a few of the Problem Solving, Core Skills, Quick Knowledge and Inspiration videos when I first got the software to give me an overview of where to find things, and have just watched a few chapters from Anthony Morganti’s Mastering Luminar 2018 as a refresher, since I only used the program once since purchasing it. Over the coming week I’ll post more resources as I work through them.
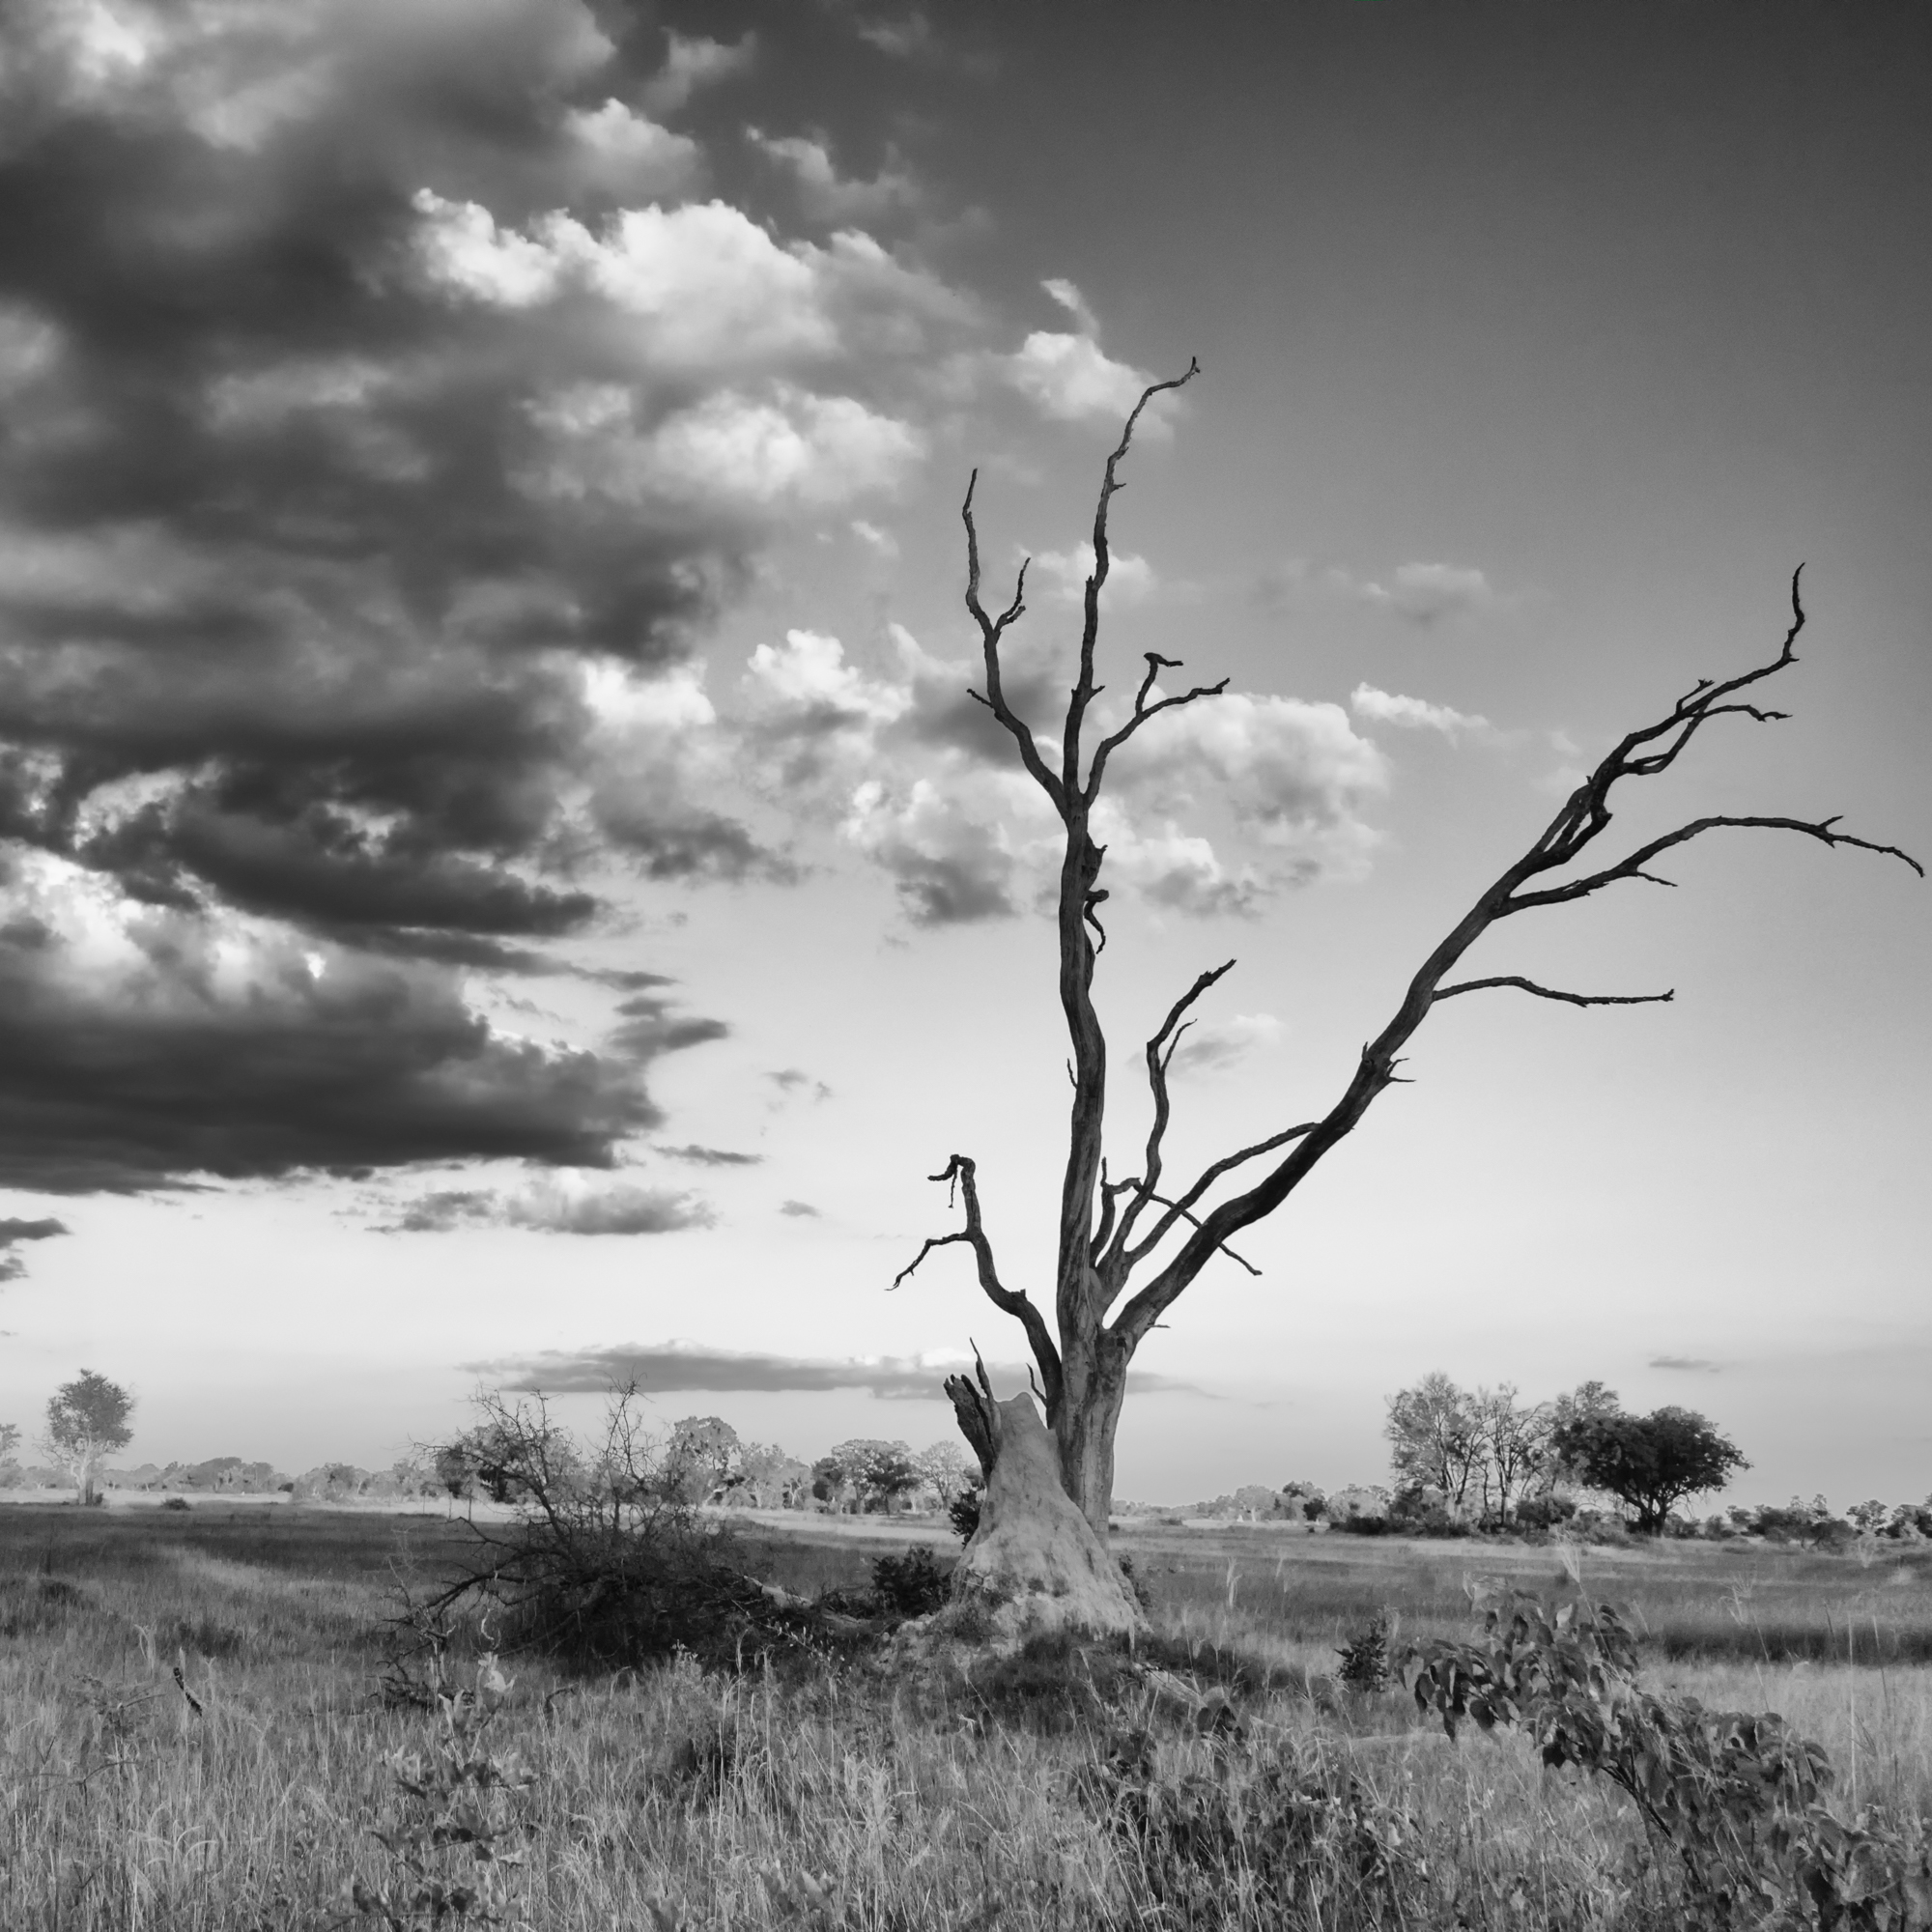
I decided to work on an image that didn’t need a lot of work, just some basic refinements including removing dust spots, cropping, adding some detail and contrast, and adjusting the tone of the sky.

I sent this image to Luminar from On1 Photo Raw, selecting the “Edit the raw file option”.
The settings I used in Luminar for this image are below:


